Showing posts with label Props. Show all posts

2011-06-20

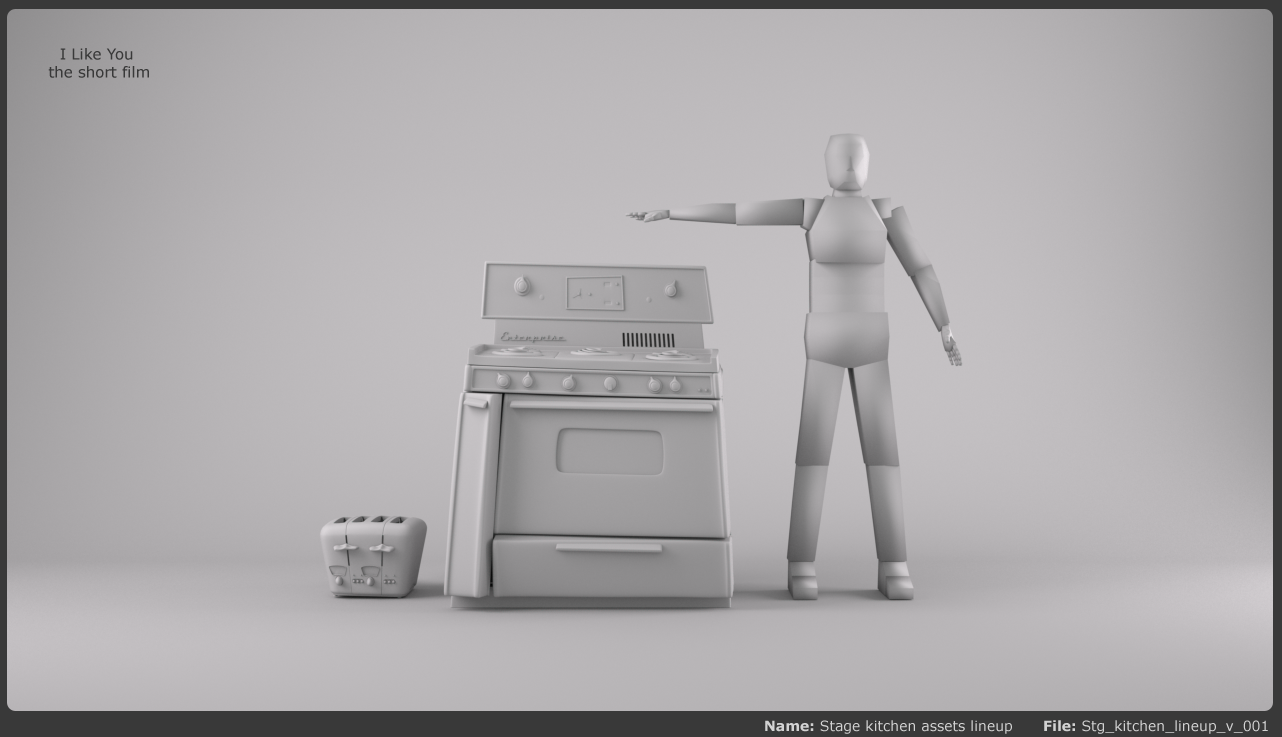
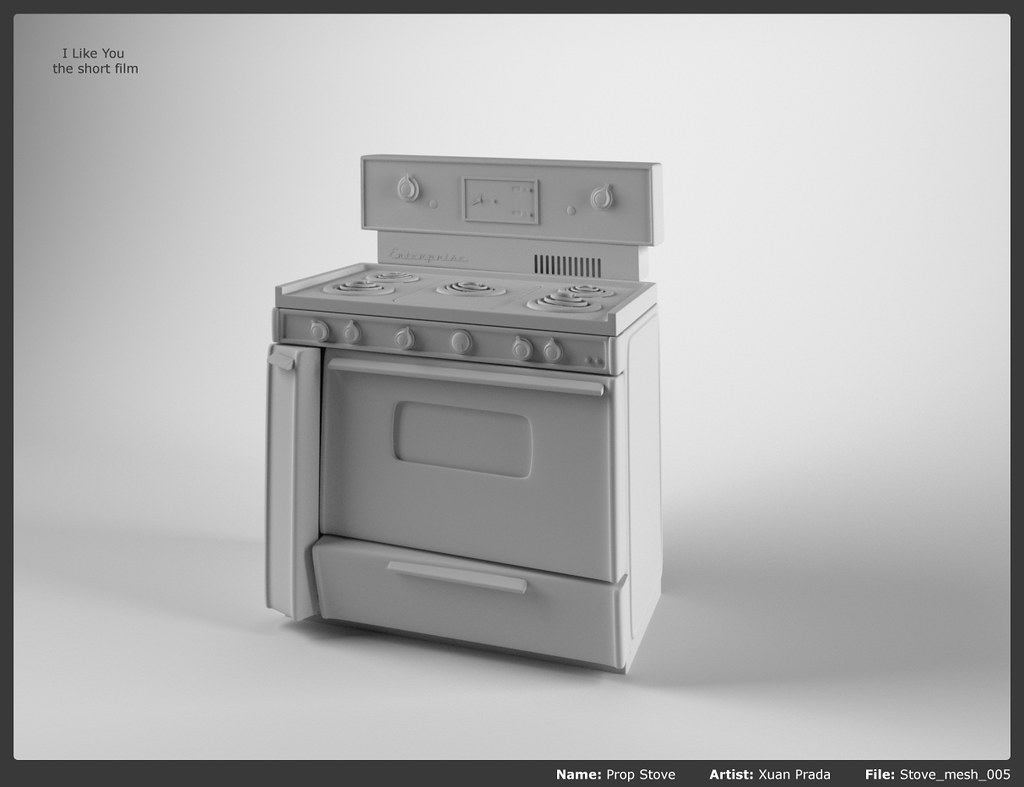
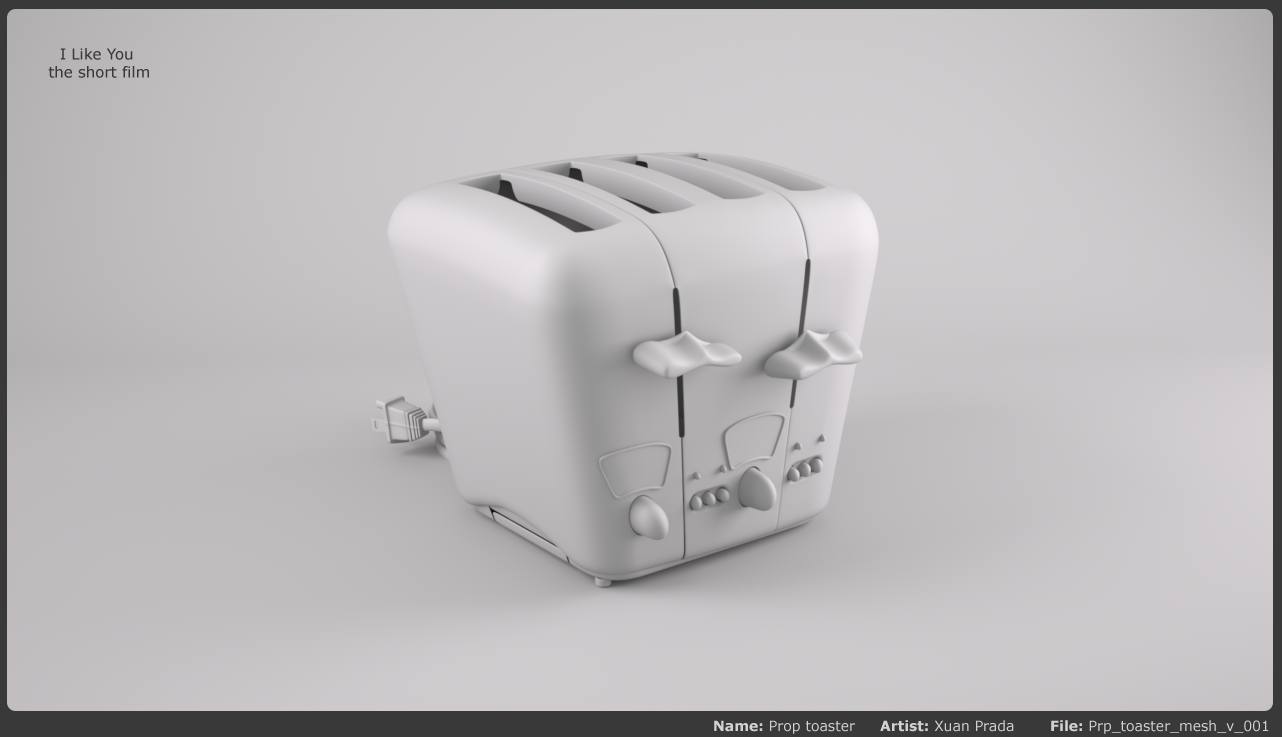
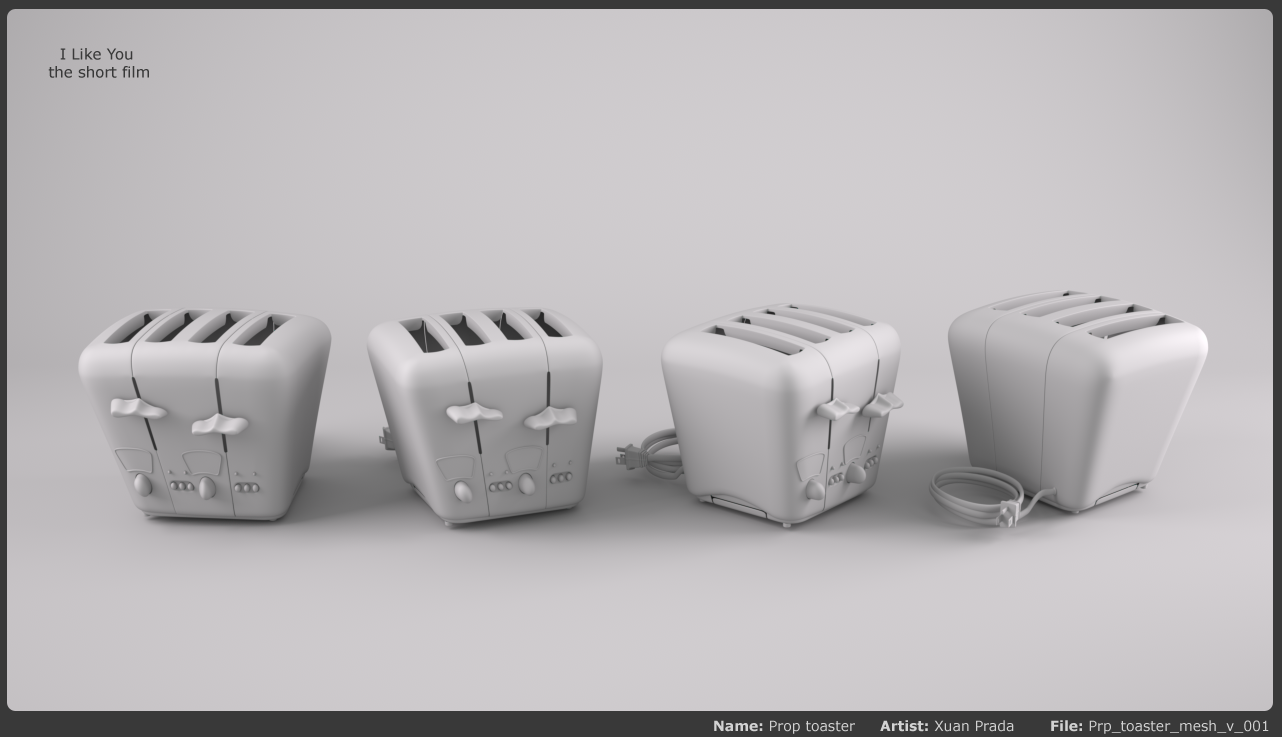
Prop toaster surfacing.

Here we go!


Work in progress lineup of this stage.


Click images to enlarge.

2011-06-05

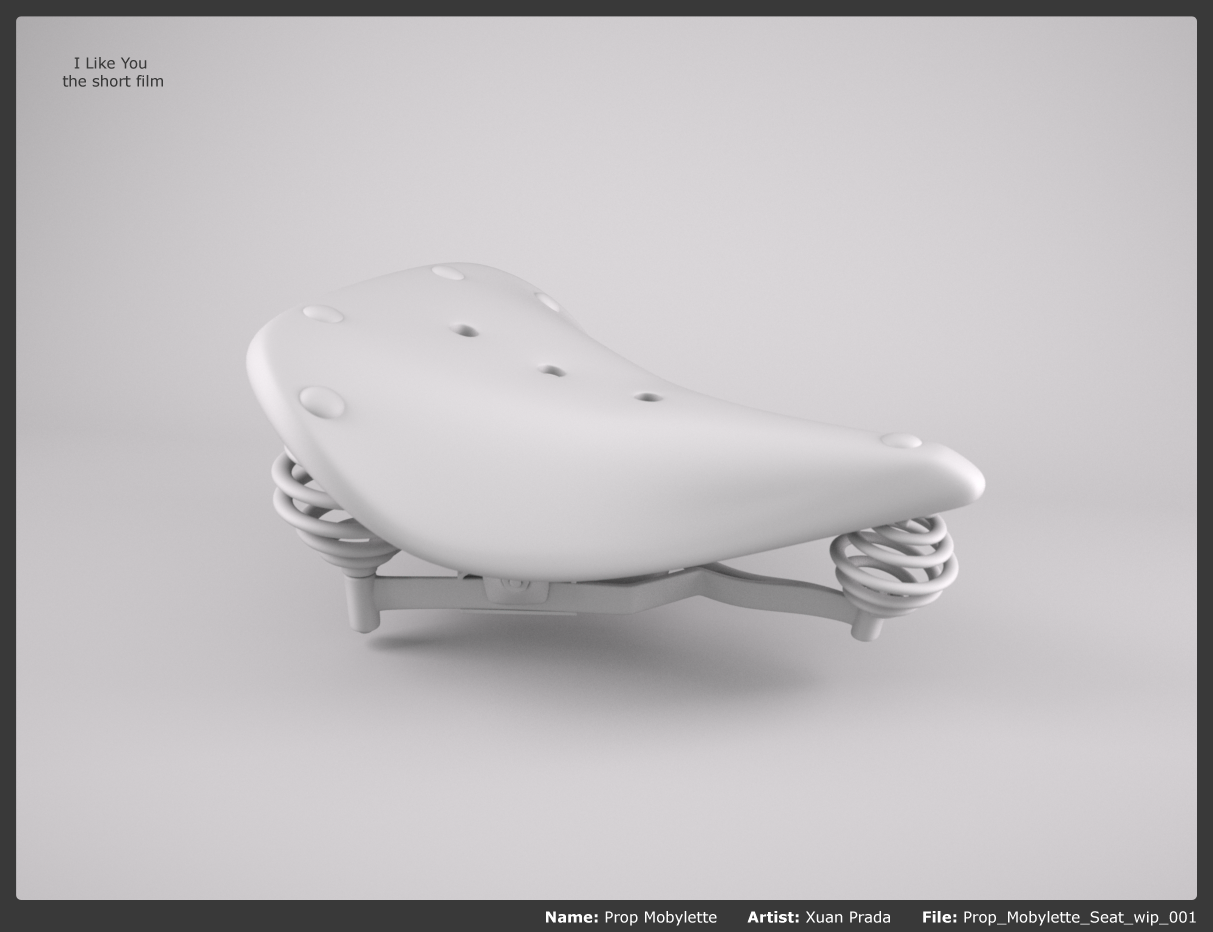
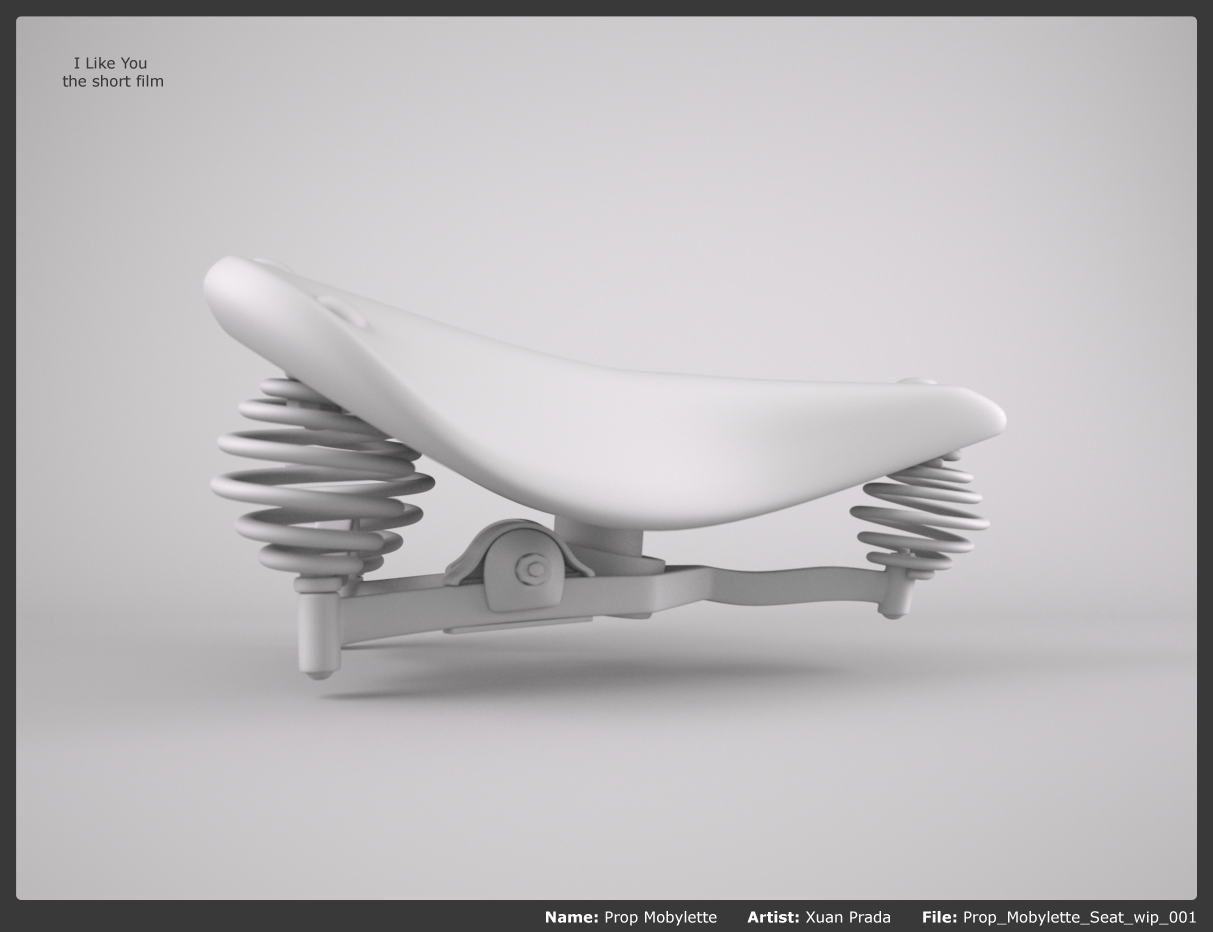
Modeling Prop Mobylette. The seat, part 03

After more than six months later working on different projects and other areas of this short film, I've found some free time to continue the modeling of this prop.
Just a tiny advance, the seat.


Click to enlarge.

2010-10-19

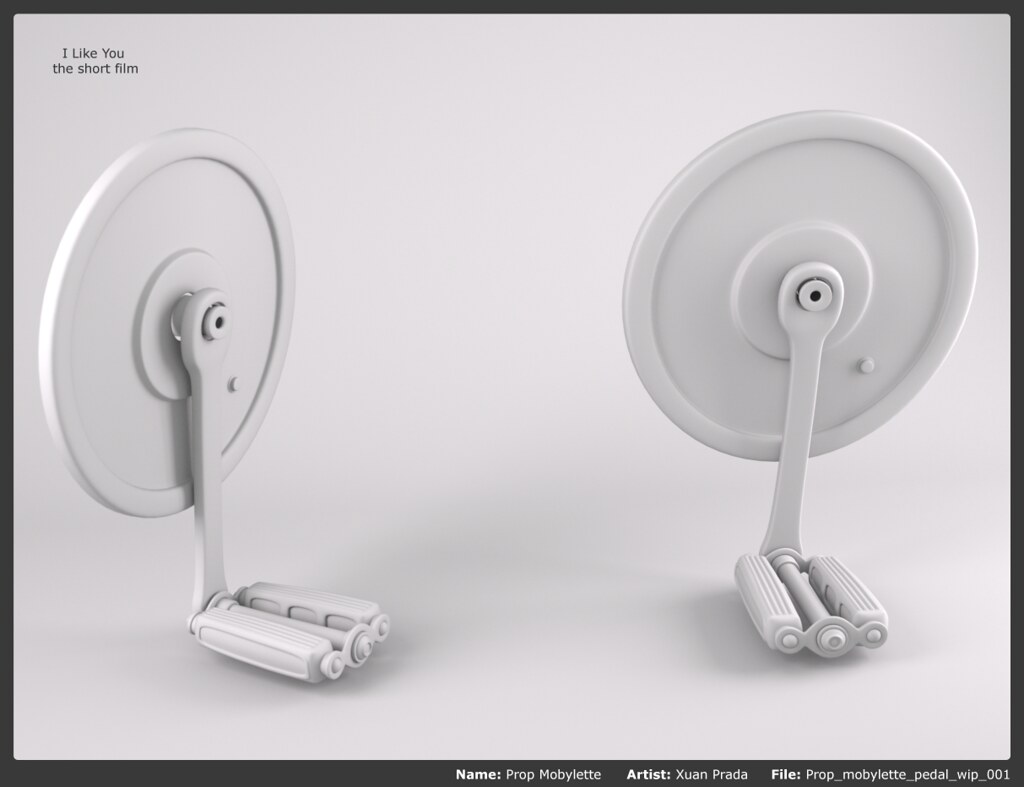
Modeling Prop Mobylette. The pedal.

Well, our main character is moving around with his amazing Mobylette.
I'm just starting with the model of this new prop, but you can find below these first images of the process of creating a nice Mobylette.

It's cool.

--- Spanish version ---

Bien, nuestro personaje protagonista va por ahí con su maravillosa Mobylette.
Estoy prácticamente empezando el modelado de este nuevo prop, pero aquí abajo ya os dejo algunos wip del proceso de creación de la Mobylette.

Está siendo muy divertido!


 Click images to enlarge.

2010-10-04

Following the shading pipeline.

Find below some pictures about the different process of some points of our pipeline.
In a previous post you can see an schematic diagram of the pipeline and a short description of all the process.

--- Spanish version ---

Aquí os dejo algunas imágenes sobre los diferentes pasos de algunos puntos de nuestro pipeline de shading y texturas.
En un post previo tenéis la versión esquemática del pipeline y una descripción general de cada uno de los pasos del proceso.


2010-10-03

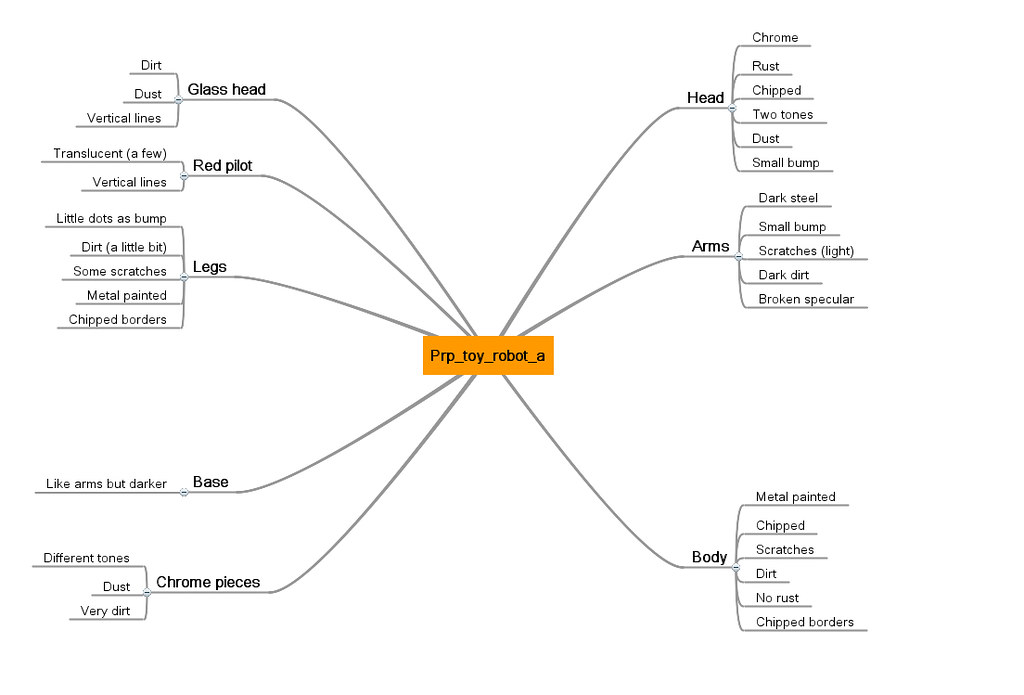
Shading and texturing Prop Toy Robot "a".

Find below an advanced version of the “Prop Toy Robot a” shaded and textured.
As soon as possible I’ll upload some images about the process that we are using to configure shaders and paint textures for this short film.

Remember, critics and comments are very welcome.

--- Spanish version ---

Aquí os dejo una versión avanzada de shaders y texturas del Prop Toy Robot "a".
Tan pronto como pueda colgaré unas imágenes sobre el proceso de texturizado que estamos siguiendo en base a nuestro pipeline.

Recuerda, críticas y comentarios son bien recibidos.

 
Click image to high resolution.

2010-08-14

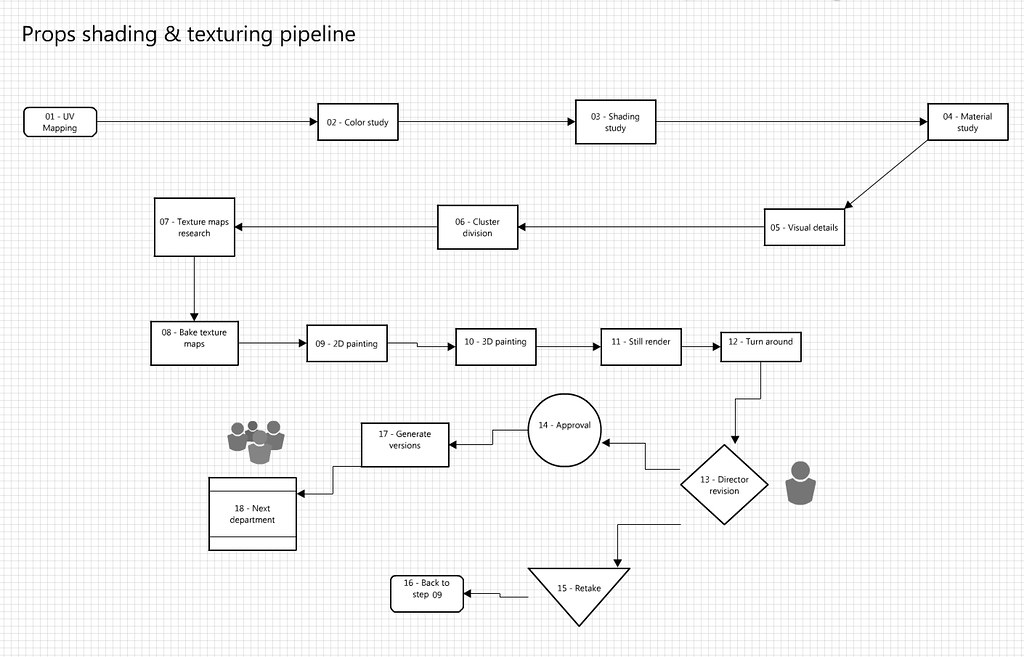
Props shading and texturing pipeine.

 
Click image to enlarge.


01 - Uv mapping
Execute the mapping of each and all parts that compose the prop.
Try to make the most of the space for the UVs, making sure that all parts of the prop keep the same scale.
Try to group the pieces that share the same material, keeping together, for example, the metals, the woods, plastics with the same color, etc.

Only if the prop is really important and requires an extraordinary detail level, all parts of the prop will share a single UVs set.

02 - Color study
After using a render in gray or ambient occlusion, take the prop to Photoshop and paint over it considering the artistic directions to be followed or the color concepts. Estimate if the color pallette is valid or not and then the Shading Artist propose changes if necessary.

03 - Shading study
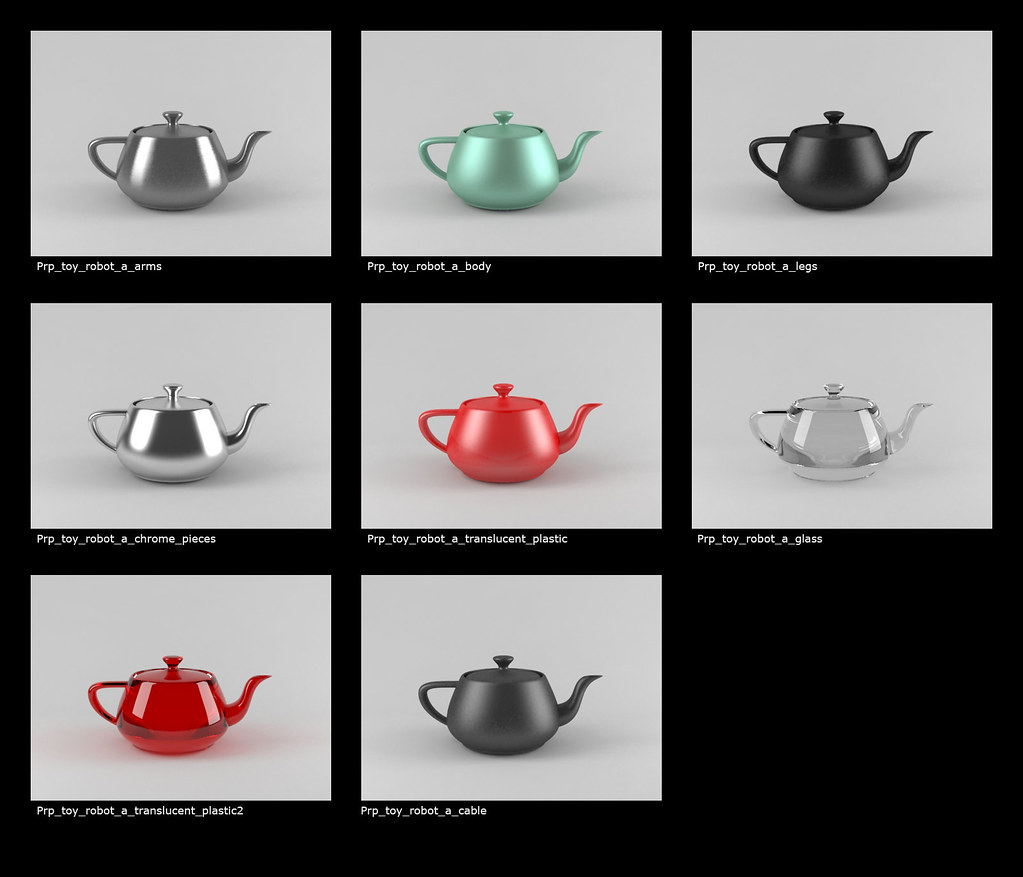
Using the neutral lights set, create and configurate the different shaders that will be needed for the prop using also the plain colors and none types of bitmap. Each shader is tested in a sphere and the shaders are saved on their contact sheet. When the prop shaders are created, export a library with the correct nomenclature and save it on the correspondent directory.

04 - Material study
Make a detailed study of the material properties.
Basic questions should be answered such as “what are the differences between this material from others?”.
Follow the document “interview with the texture”.

05 - Visual details
Study the small visual details that will compose the texture maps.
Consider where the scratches will be located, rust, dirt and all kind of details that may compose the prop.

06 - Cluster division
Split the prop in as many material clusters as needed.
This will, it should be created a cluster for each kind of material, perfectly named, with the same nomenclature as the shader related to the cluster.
The result will be clusters for metals, plastics, woods, etc.

07 - Texture maps research
Investigate all the different options of texture maps that will be needed.
You could have bitmaps or procedural maps.
Search or compose both kinds of maps ttat you will be working with. For that you will use the procedures of the different software or texture libraries.

08 - Bake texture maps
Execute bake textures of everying that requires so.
If procedures of other softwares are used, execute the baking as well to have them available at 3D Max.
Also execute bakes of dirt maps, dust maps, procedural maps, IDs, etc.

09 - 2D painting
Paint all the maps needed in Photoshop.

10 - 3D painting
Starting from zero or with the base created on step 9, paint in 3D using Body Paint and/or Mudbox.

11 - Still render
With the shaders and the textures applied, execute a render of a photogram using the neutral lights set with the goal of a visual feedback.

12 - Turn around
Once satisfied with the results, execute a turn around render.

13 - Directors revision
The director approves the results or gives feedback requesting changes.

14 - Approval
The shading and texturing job gets approved.

15 - Retake
Changes are needed based on the director’s suggestions so you should go back to step 09.

17 - Generate versions
Once approved by the Director, create medium and low versions for the texture maps as well as for the geometry.

18 - Next department
Model already texturized for the next department, probably scene composing (to be defined)

--- Spanish version ---

01 - Uv mapping
Realizar el mapeado de cada objeto y todas las partes que componen el prop.
Intentar aprovechar la mayor parte del espacio UV, teniendo en cuenta que todos los objetos han de estar a la misma escala de mapeado.
Intentar en lo posible agrupar las piezas que compartan mismo material, intentando poner juntas, por ejemplo, los metales, maderas, plásticos del mismo color, etc.

A menos que el prop sea realmente importante y requiera un tratamiento de detalle excepcional, todas las partes del prop compartirán un mismo set de UV's.

02 - Color study
Utilizando un render en gris, o con ambient occlusion, llevar el prop a Photoshop y pintar encima considerando las direcciones artísticas. Estimar si la paleta de color funciona o no, y si fuera necesario, proponer cambios.

03 - Shading study
Utilizando el set de luces neutro, crear y configurar los diferentes shaders que serán necesarios para el prop, utilizando solamente colores planos, sin ningún mapa de textura.
Cada shader se prueba en una teapot y se salva un render en su contact sheet.
Una vez creados todos los shaders y con su correcta nomenclatura, se crea una librería con todos ellos y se guarda en su directorio correspondiente.

04 - Material study
Hacer un detallado estudio de las propiedades de los materiales del prop.
Responder a las preguntas básicas del tipo ¿Cuál es la diferencia entre este material y otro?
Seguir el documento "entrevista con la textura".

05 - Visual details
Estudio de los pequeños detalles que componen las texturas.
Considerar donde están las raspaduras, la suciedad, etc.

06 - Cluster division
Dividir el prop en tantos clusters como sea necesario.
Cada material deberá de tener su cluster, perfectamente nombrado.
El resultado serán diferentes clusters para metal, madera, etc.

07 - Texture maps research
Investigar todas las opciones disponibles para mapas de textura.
Pueden ser de tipo bitmap o tipo procedural.

08 - Bake texture maps
Hacer bakes de texturas, procedurales, de tantas cosas como sean necesarias.
Es posible hacer bakes de procedurales de otros softwares para llevarlos a 3D Max.
Dirt maps, dust maps, ID's, etc.

09 - 2D painting
Pintar todos los mapas necesarios en Phooshop.

10 - 3D painting
Empezando de cero, o con una base creada en el paso 09, pintar en 3D utilizando Body Paint / Mudbox.

11 - Still render
Con los shaders y texturas terminados, hacer varios renders utilizando el set de luces neutro.

12 - Turn around
Una vez satisfecho con los renders, hacer un turn around.

13 - Directors revision
El director aprueba el trabajo de shading o pide cambios.

14 - Approval
El trabajo de shading es aprobado.

15 - Retake
Cambios son necesarios, volver al paso 09.

17 - Generate versions
Una vez aprobado por el director, crear versiones medio y baja de las texturas, y shaders.

18 - Next department
El modelo pasa al siguiente departamento.
2010-07-26

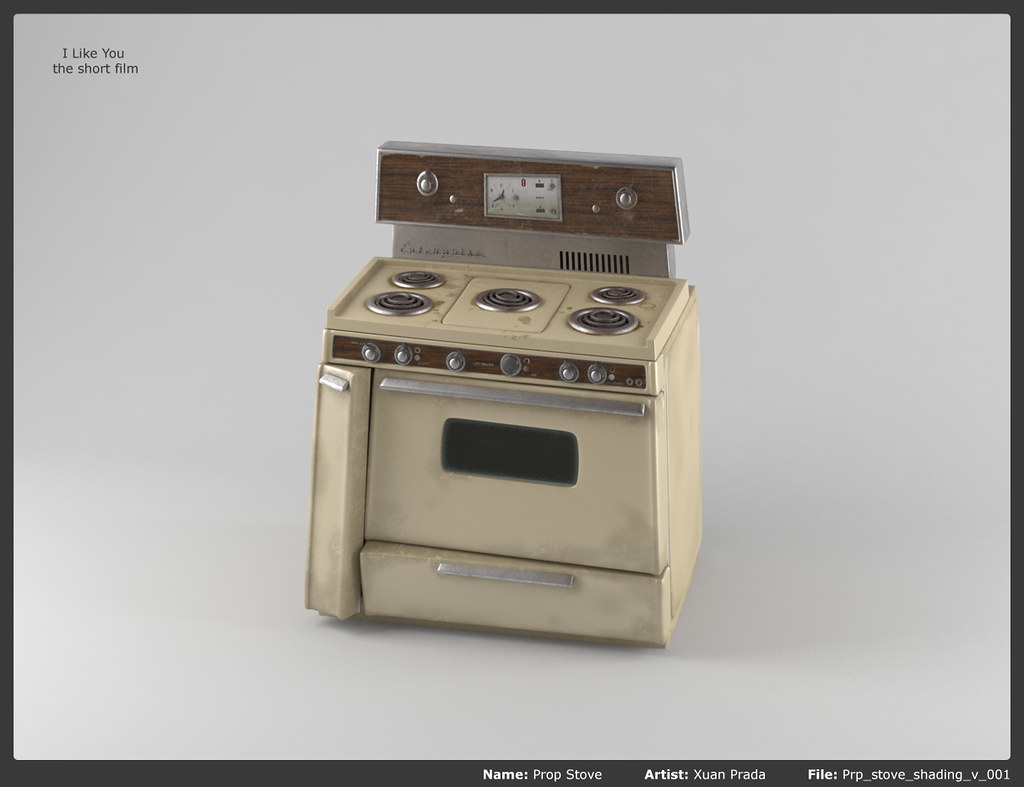
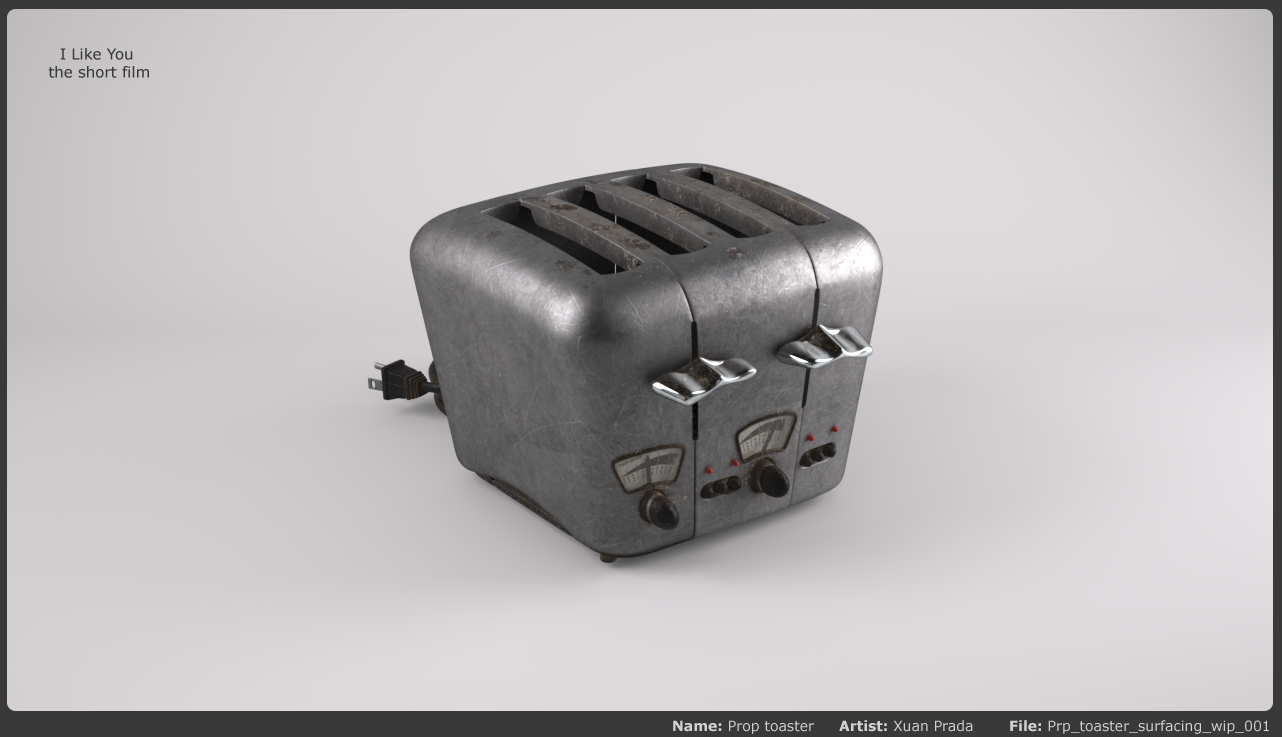
Prop Stove shading.

I’ve been working on shaders and painting some textures for the prop Stove. In the end it was a bit difficult since is the first object I texturized using Vray.

I still haven’t decided wich render engine we will be using but Vray is one of the candidadtes, so I’ll have to prepare the shaders for this prop with other render alternatives we have available.
As of now, I’ll leave you with a work in progress.

--- Spanish version ---

He estado trabajando en los shaders y pintando algunas texturas para el Prop Stove. Ha sido un poco más difícil de lo habitual, ya que es mi primer objeto texturizado utilizando Vray.

Todavía no hemos decidido que motor de render vamos a utilizar, pero Vray es uno de los candidatos, así que tendré que preparar los shaders de este prop en otros motores de render alternativos.
Por ahora, os dejo unos progresos.


Click images to enlarge.

2010-07-15

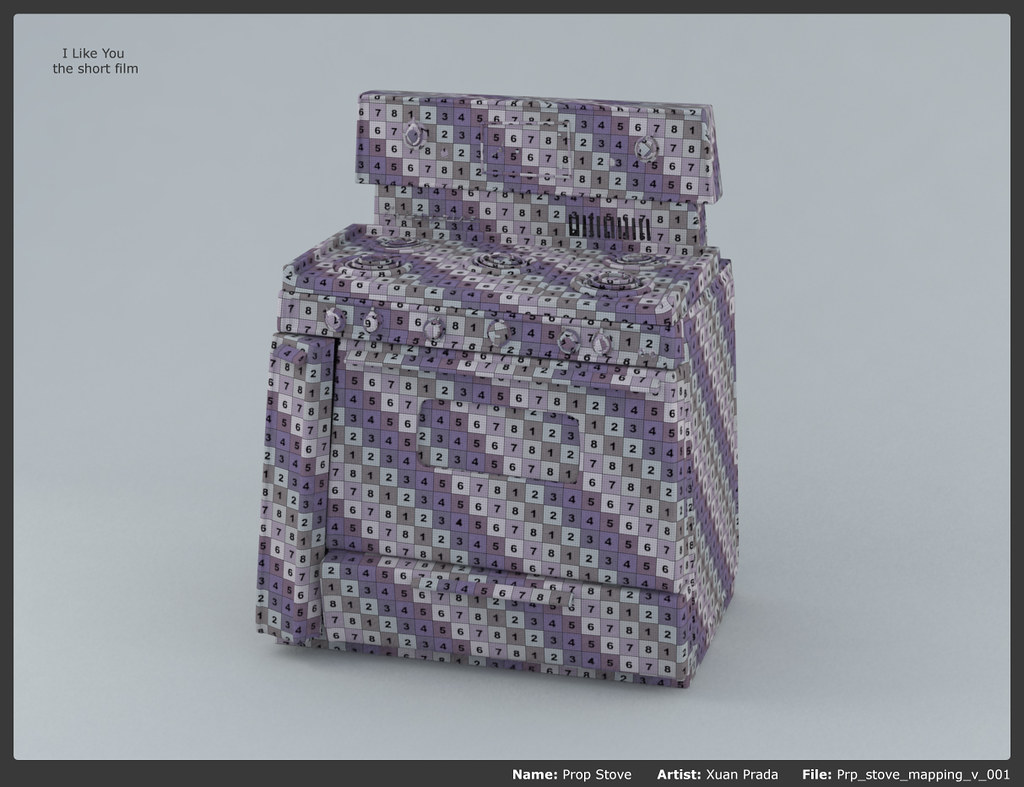
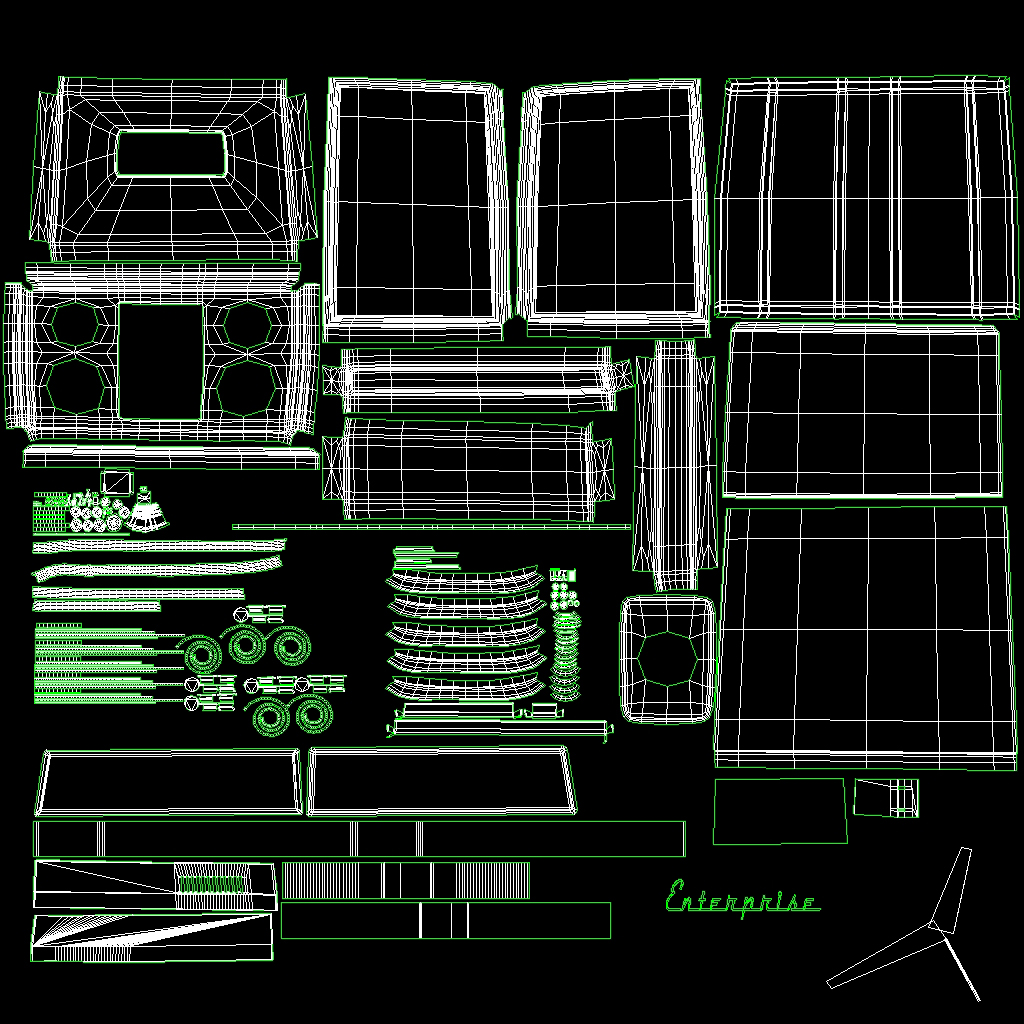
Prop Stove UV mapping.

UV mapping completed for this prop.
I think that having a good UV template is extremely important for the final look of the shaders and textures. Well, now it’s ready for texture painting.
I’ll post more advances soon.

--- Spanish version ---

Mapeado de UV's completado para este prop.
Creo que tener un buen mapeado de UV's es tremendamente importante para el look final de los shaders y texturas.
Bien, ahora es tiempo para pintar texturas.
Más avances pronto.


Click images to enlarge.

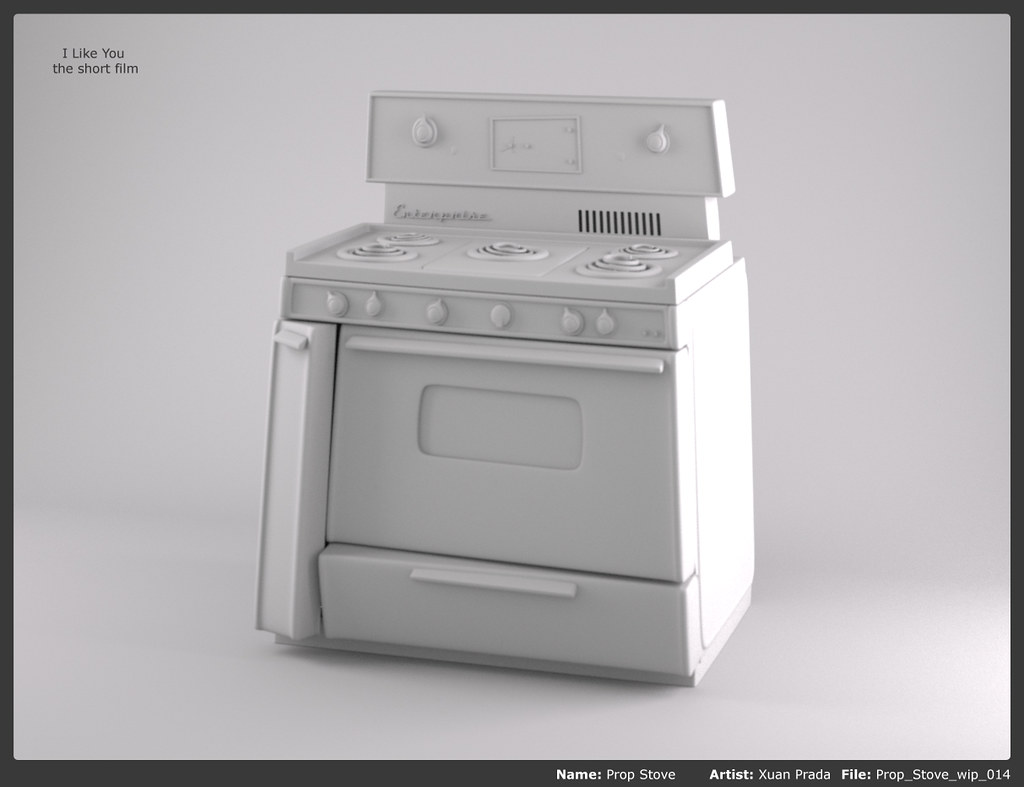
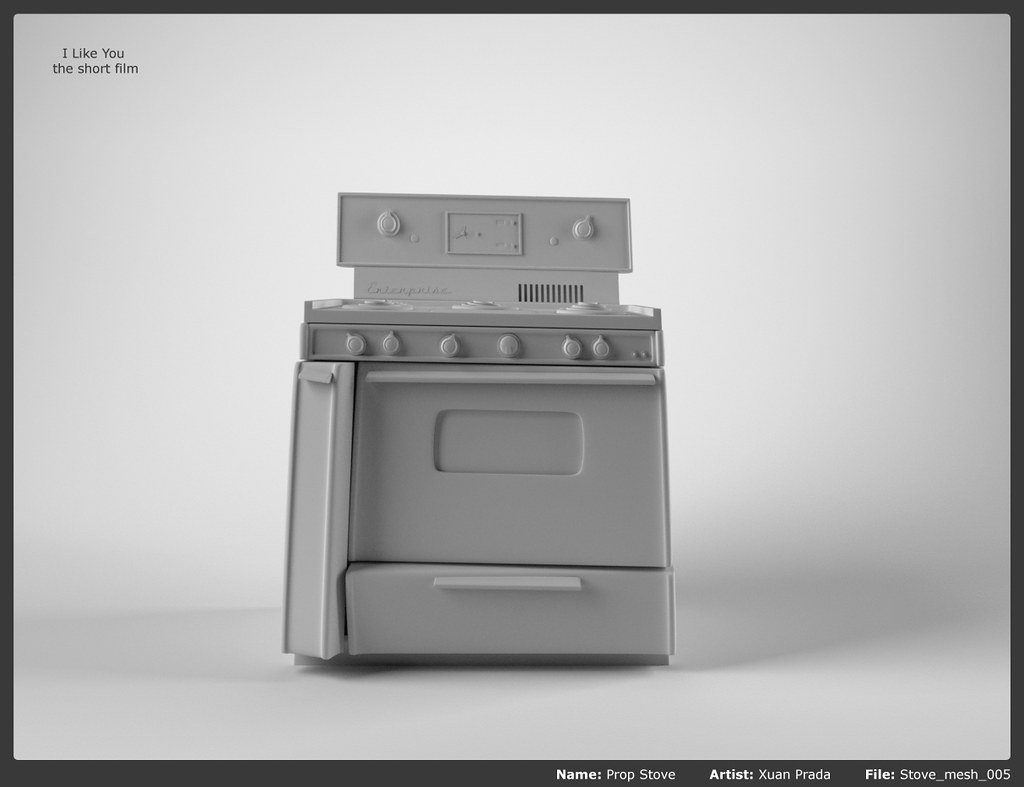
Prop Stove retake 001.

With this little retake with just a couple of changes in the mesh I completed the model of the prop Stove.
Now is time for shading & texturing department.

--- Spanish version ---

Con esos pequeños cambios en la malla de este prop, se completa el modelado del Prop Stove.
Tiempo para el departamento de shading & texturing.

Click image to enlarge.

2010-07-01

Props modeling pipeline.

  
Click image to enlarge.

01 - Concept art
The modeler gets the art or the main reference given from the Art Department or from the artists.
In this phase are already detailed the main volums of the prop to be modeled, the scale and the style.

02 - References
The modeler is in charge of searching different references related to the prop to be modeled. It could be photographies of real objects searched on the internet, photos taken by the modeler himself, references from other movies, etc.
The ideal scenario is having a good set of references, around ten would be a good number.

03 - Material properties
Evaluate a bit the materials of which the prop to be modelled is made: metal, plastic, paper, etc.
The model has to give the sensation of heaviness, lightness, emptyness or solidness. Obviously, this task will help a lot the shading and the textures, but should be considered from the very start when modelling.

04 - Visual detail
Focus on the small details that distinguish a prop from another. Details always make a difference. For example, when modelling a cable, it being peeled or cut.

05 - Plasticine
Model a plasticine in low resolution with the final volums of the prop. The responsible should approve this task before moving on tothe next step.

06 - Polygonal modelling
Model the prop using polys in a traditional way. Use the lowest resolution available and add two smooth subdivisions most.

07 - Sculpting
If the prop requires it, move on to Mudbox to add small details. Volums will never be created in this step.

08 - Clay renders
Using the appropiate set of lights, create various clay renders with the goal of showing the final model to the supervisor.

09 - Turn around
If necessary, create a turn around using the same lighting set worn for the clay renders.

10 - Director revision
The Director supervises the prop model to make decisions about possible changes or approval.

11 - Approval
The Director approves the modelling work.

12 - Retake
The Director suggests changes in the modelling job.

13 - Shading&Texturing department
Job finished and moved on to the next department.

14 - Back to step 06
If the Director suggests changes, go back to step 6 of the process.

--- Spanish version ---

01 - Concept art
El modelador coge el arte y la referencia principal dada por el departamento de arte.
En este momento, debería de quedar claro el detalle de los volúmenes, la escala y el estilo.

02 - References
El modelador se encarga de buscar diferentes referencia relacionadas con el prop. Pueden ser fotografías de objetos reales buscadas en internet, fotografías tomadas por el propio modelador, referencias de otras películas, etc.
La situación ideal es tener un buen set de referencias. No menos que cincuenta.

03 - Material properties
Es necesario hacer una evaluación de los materiales de los que está construído el prop: metal, plástico, papel, etc.
El modelo tiene que dar la sensación de peso, ligereza, solidez, etc. Obviamente, a este propósito ayudará bastante el trabajo de shaders y texturas, pero debería ser considerado desde la primera fase de modelado.

04 - Visual detail
Hay que poner especial atención en los pequeños detalles que distinguen a un prop de otro. Los detalles siempre marcan la diferencia. Por ejemplo, cuando modelamos un cable, puede estar pelado o cortado.

05 - Plasticine
Es necesario modelar una plastilina en baja resolución que contenga los volúmenes finales del prop. El responsable debería aprobar esta tarea antes de continuar con el siguiente paso.

06 - Polygonal modelling
En este paso se modela el prop utilizando modelado poligonal clásico. Hay que utilizar el menos número de polígonos posible y nunca más de dos subdivisiones.

07 - Sculpting
Si el prop lo requiere así, el modelo se lleva a Mudbox para añadir pequeños detalles. Los volúmenes nunca se crearán en este paso.

08 - Clay renders
Utilizando el set de luces apropiado para ello, se crean varios renders mostrando el modelado final al supervisor.

09 - Turn around
Si fuera necesario, crear un turn around utilizando el mismo set de luces del paso anterior.

10 - Director revision
El director supervisa el trabajo de modelado y toma una decisión sobre posibles cambios, o finalmente aprueba el trabajo.

11 - Approval
El director aprueba el trabajo de modelado.

12 - Retake
El director sugiere cambios en el trabajo de modelado.

13 - Shading&Texturing department
Trabajo de modelado finalizado. Se pasa el prop al siguiente departamento.

14 - Back to step 06
Si el director sugiere cambios, se retrocede al paso 06.


2010-06-02

Our first modeling test.

I have started to do the first aesthetics test with the 3D models. Sometimes it’s very difficult to convert the 2D concepts into 3D models.

This is one of the first simple modelling tests of one of the props that could be in the promotional video. The styles are not completely defined, but more or less we have established a path to follow.

Soon I will show some shading and texturing tests.

As you may know, we are still working on the pipeline and workflow and we haven’t made a decision about the 3D software. These first tests were made with Softimage.

Please, feel free to talk with us about the design and style.

--- Spanish version ---

He empezado a realizar algunas pruebas de estilo con modelos 3D. Algunas veces resulta bastante complicado convertir los diseños 2D en modelos 3D.

Este es uno de los primeros test de modelado de uno de los props que podrían aparecer en el video promocional del cortometraje. Es estilo no está completamente definido, pero más o menos ya estamos estableciendo un camino a seguir.

Como sabes, todavía estamos trabajando en el pipeline y en nuestro sistema de trabajo, así que todavía no hemos tomado una decisión sobre que paquete de 3D vamos a utilizar. Estos test se han hecho con Softimage.

Siéntete libre para comentar con nosotros cualquier cosa.


 Click images to enlarge.