Showing posts with label Texturing. Show all posts

2011-06-20

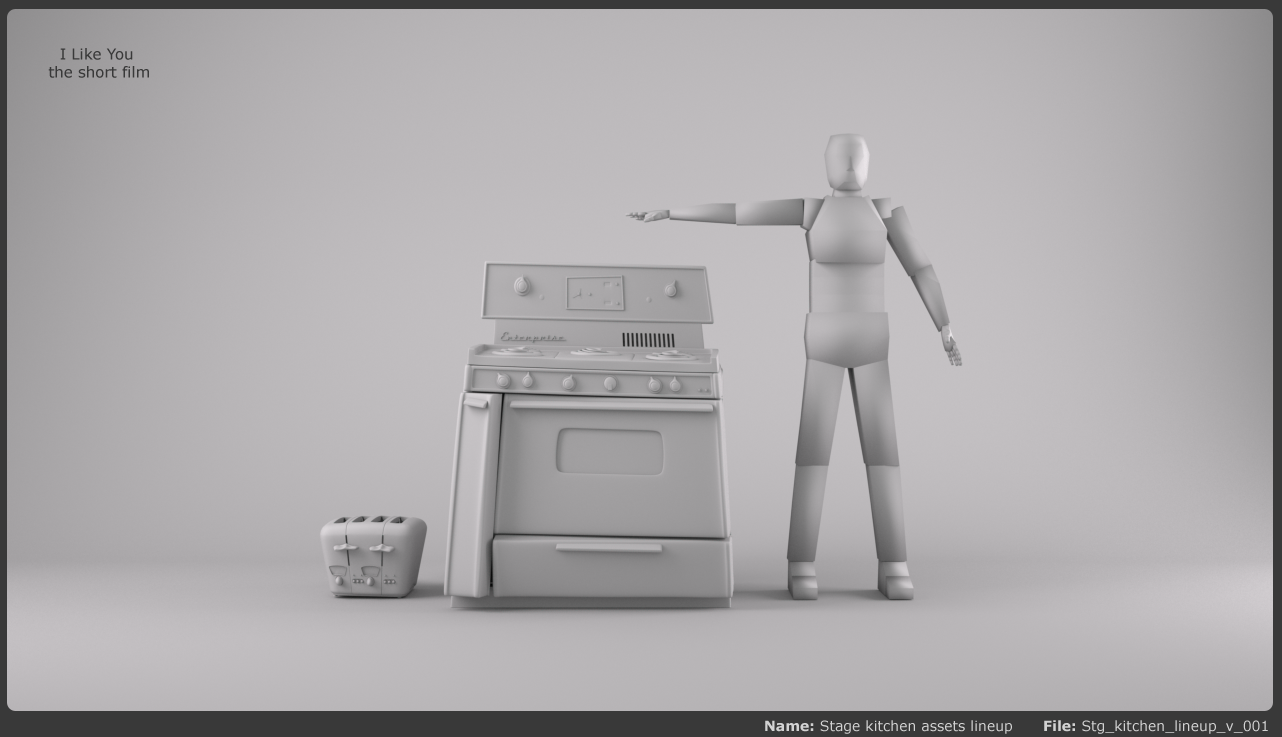
Prop toaster surfacing.

Here we go!


Work in progress lineup of this stage.


Click images to enlarge.

2011-04-30

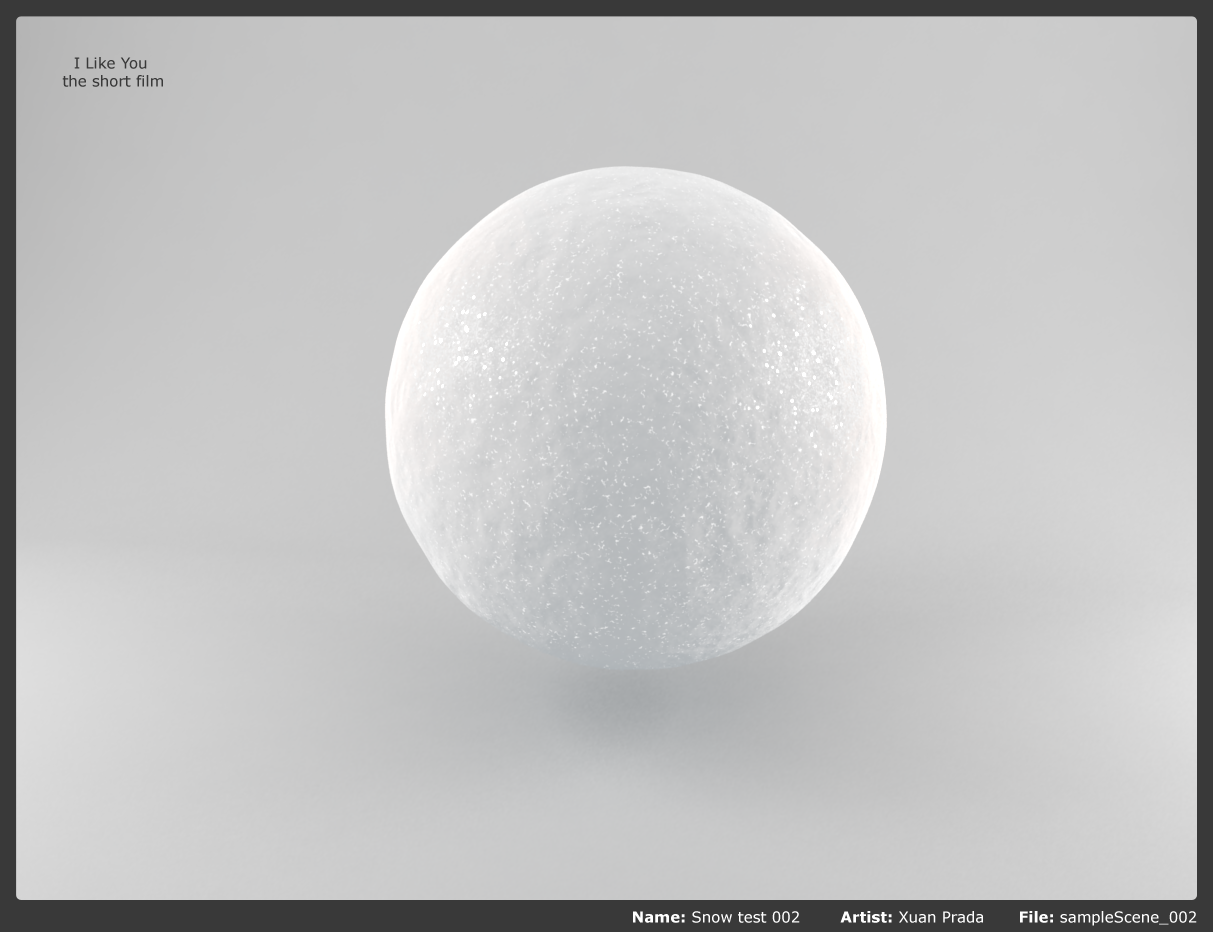
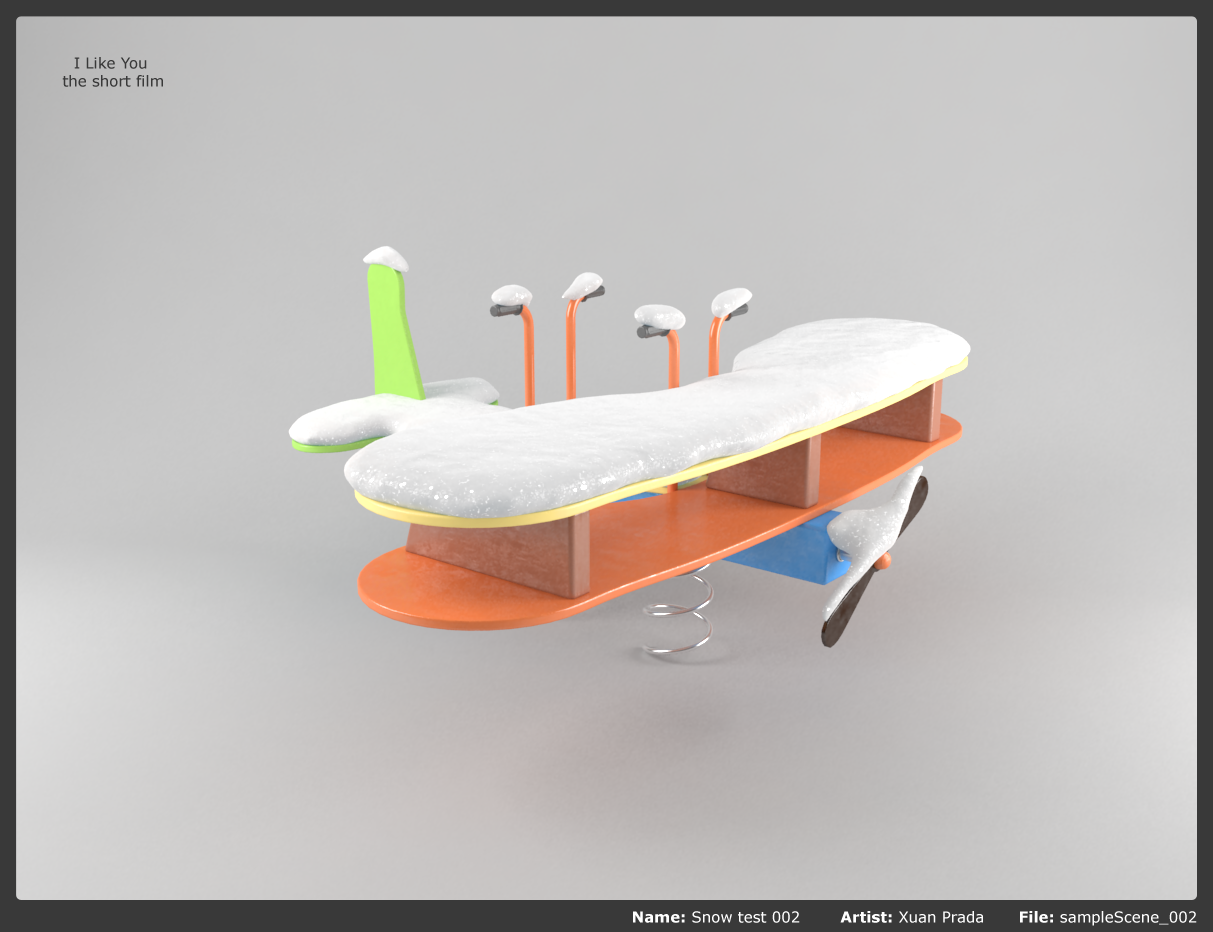
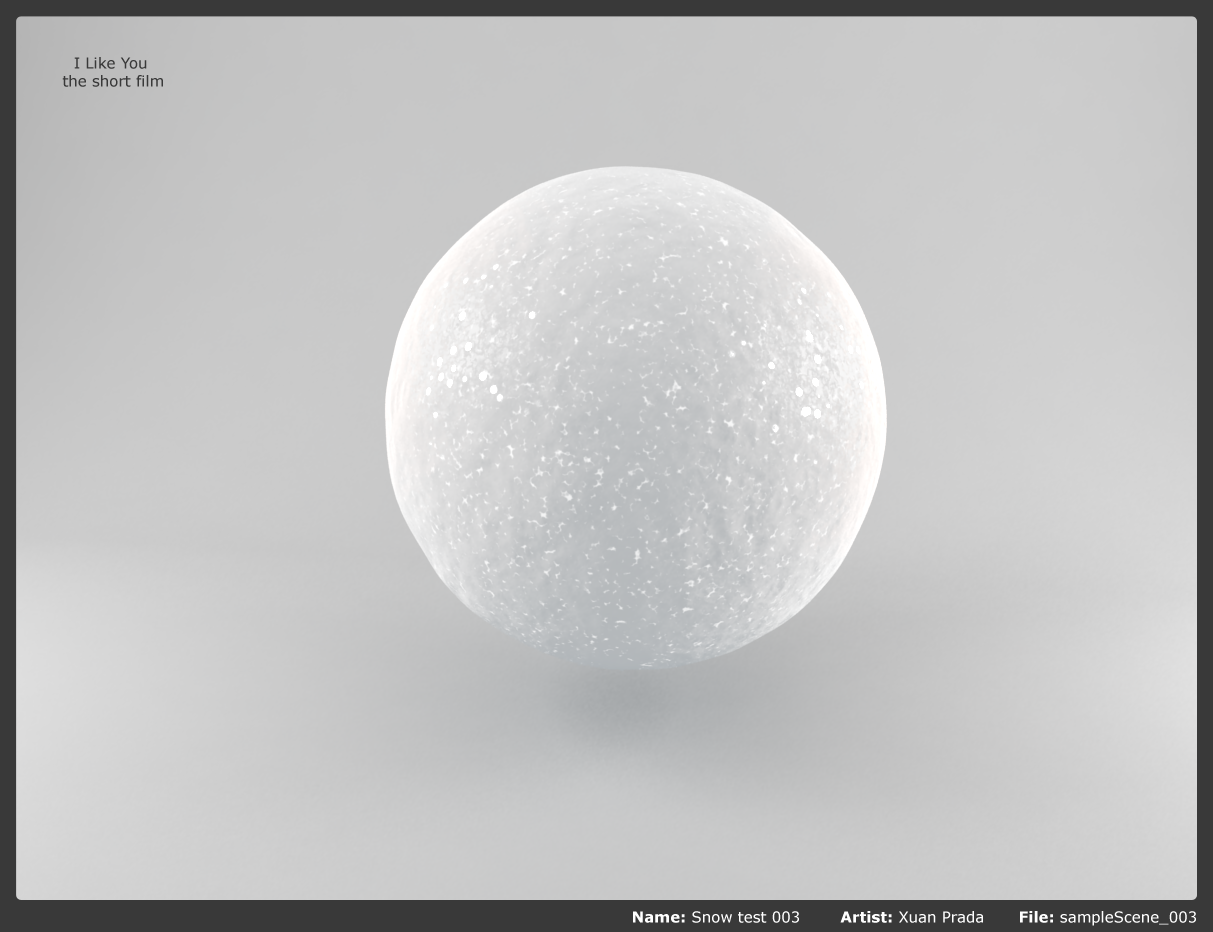
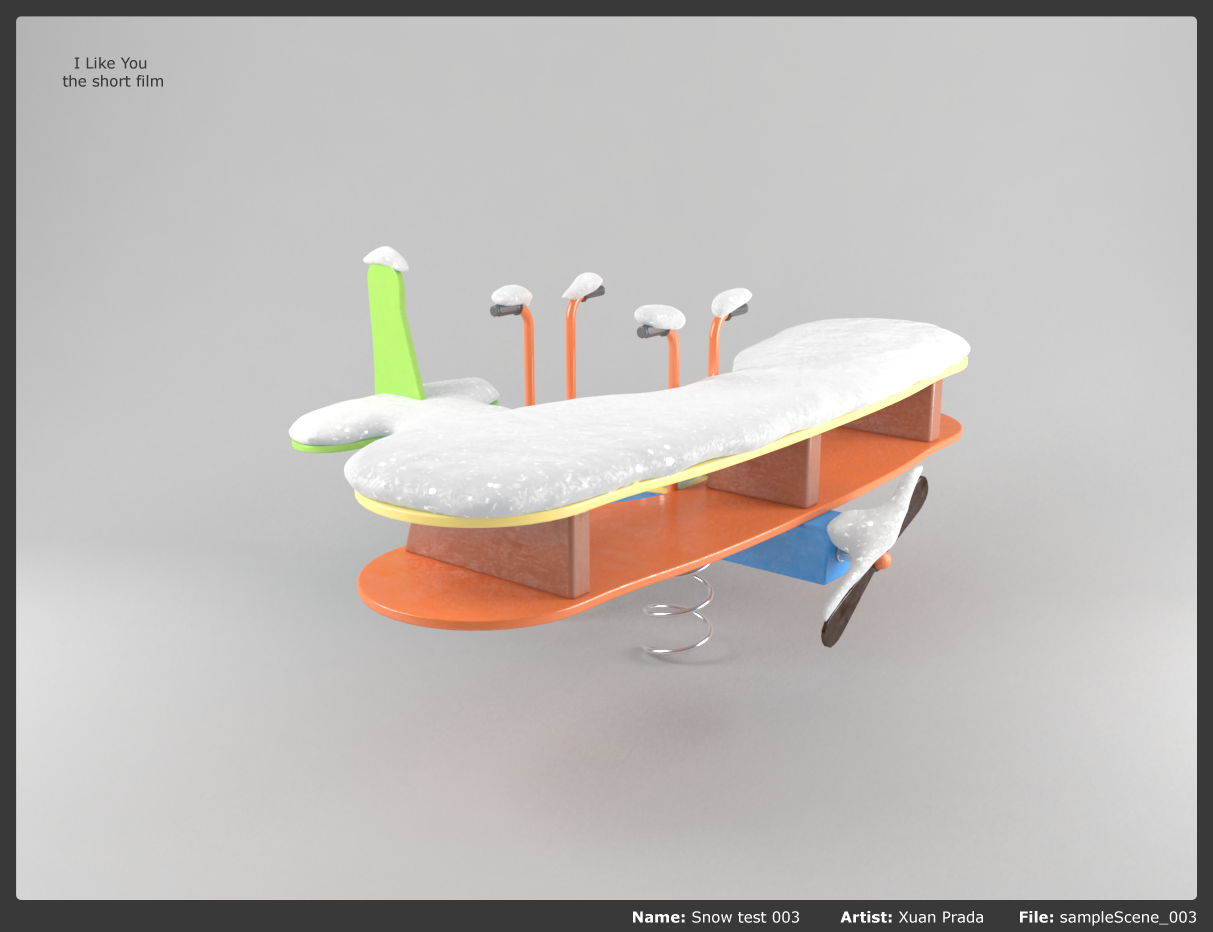
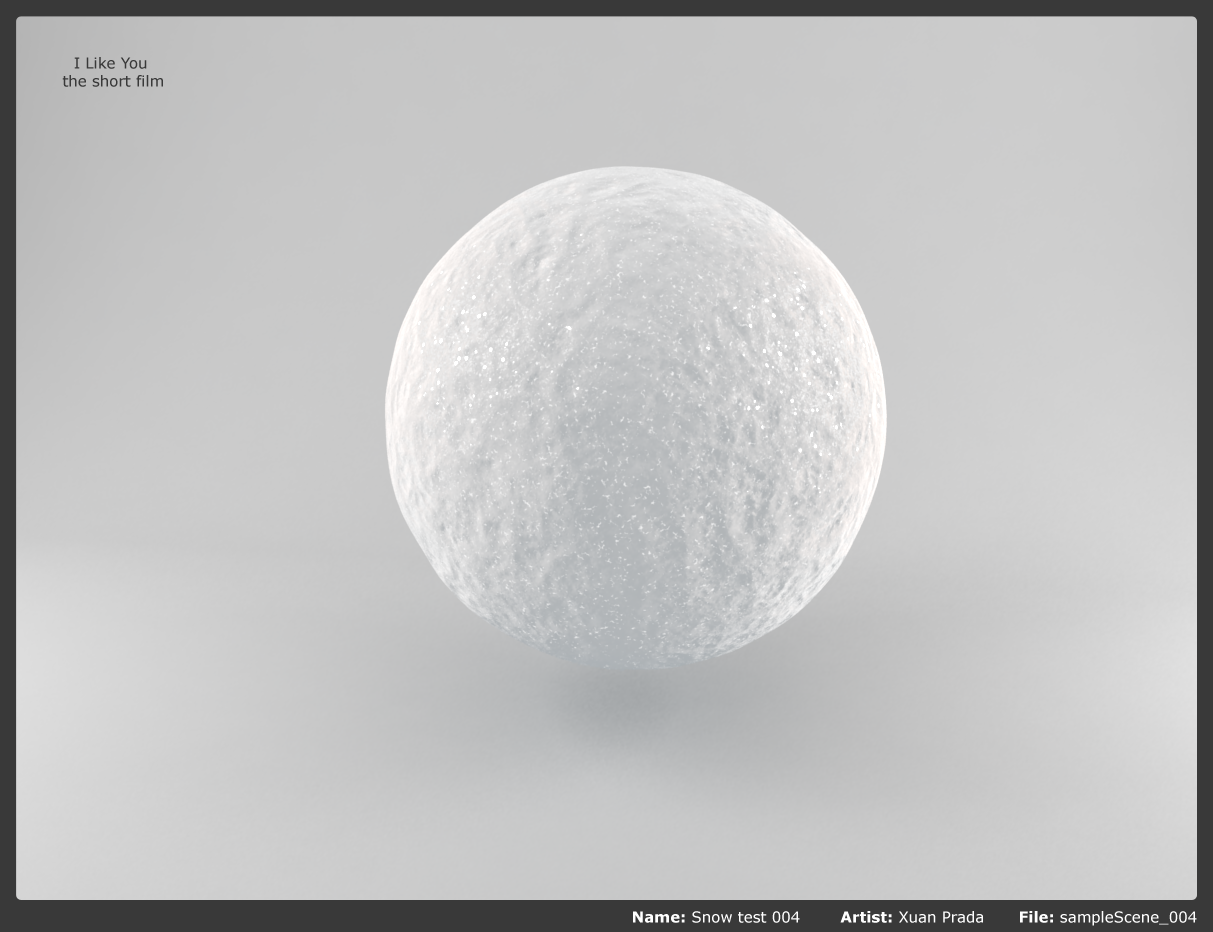
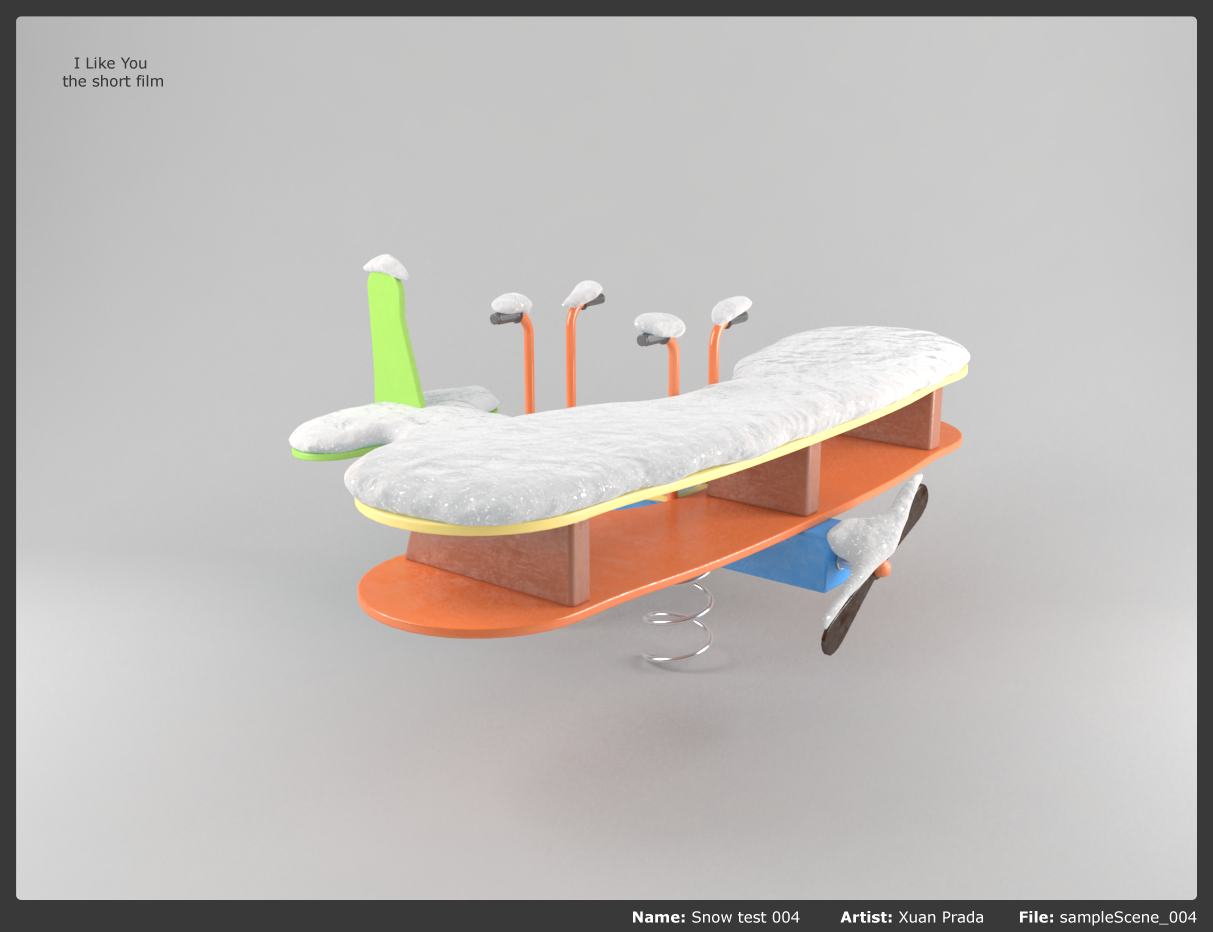
Snow shader v2.

I've been working on the old snow shader to try to improve the appareance of all the stuff which will be snowed in the short film.
I'm happy with the results for now but I'll keep investigating about snow stuff.
Find below some test and examples.

My original idea is to have different controls for general snow, crystallization areas, icy areas and bump and displacement as well.

ps: The airplane model doesn't belong to I Like You.

Click images to enlarge.

2011-02-16

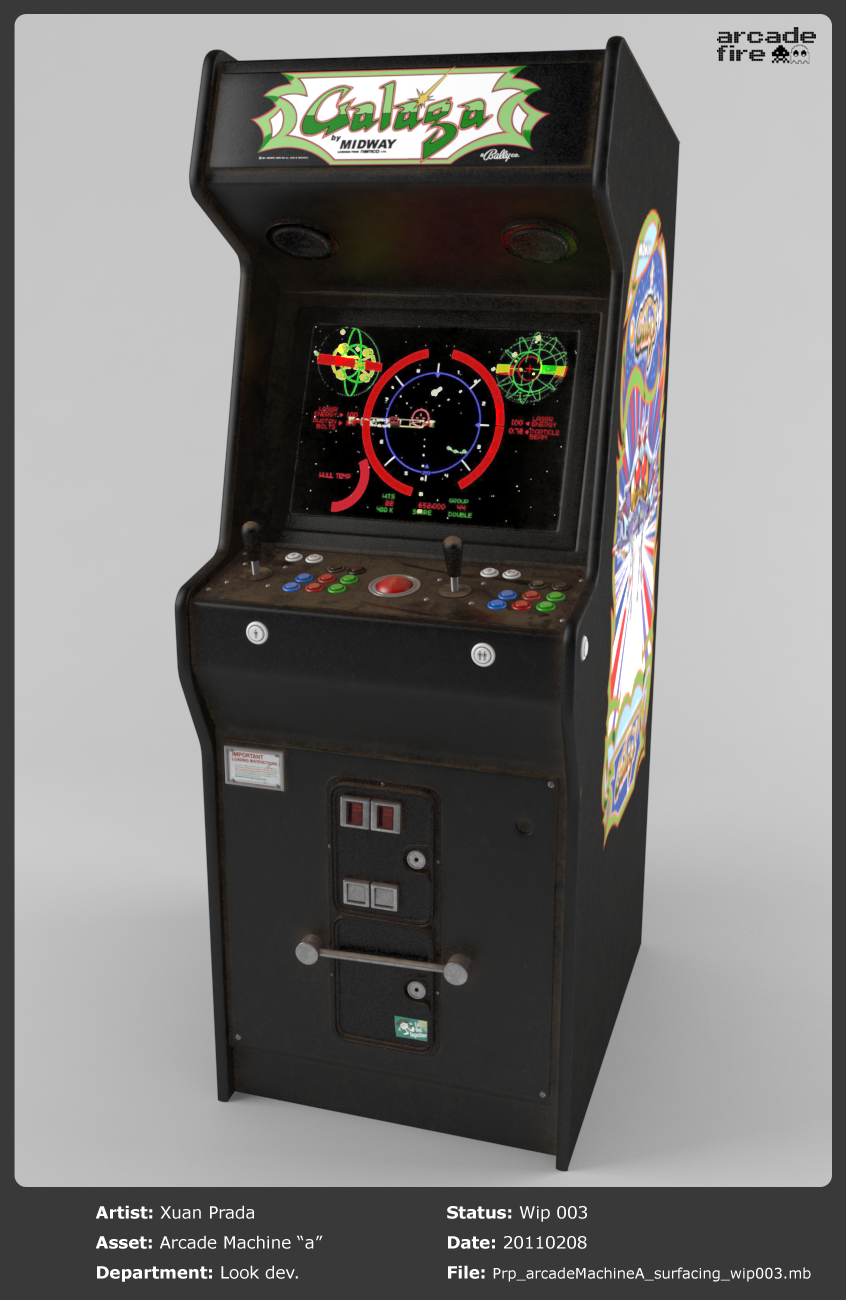
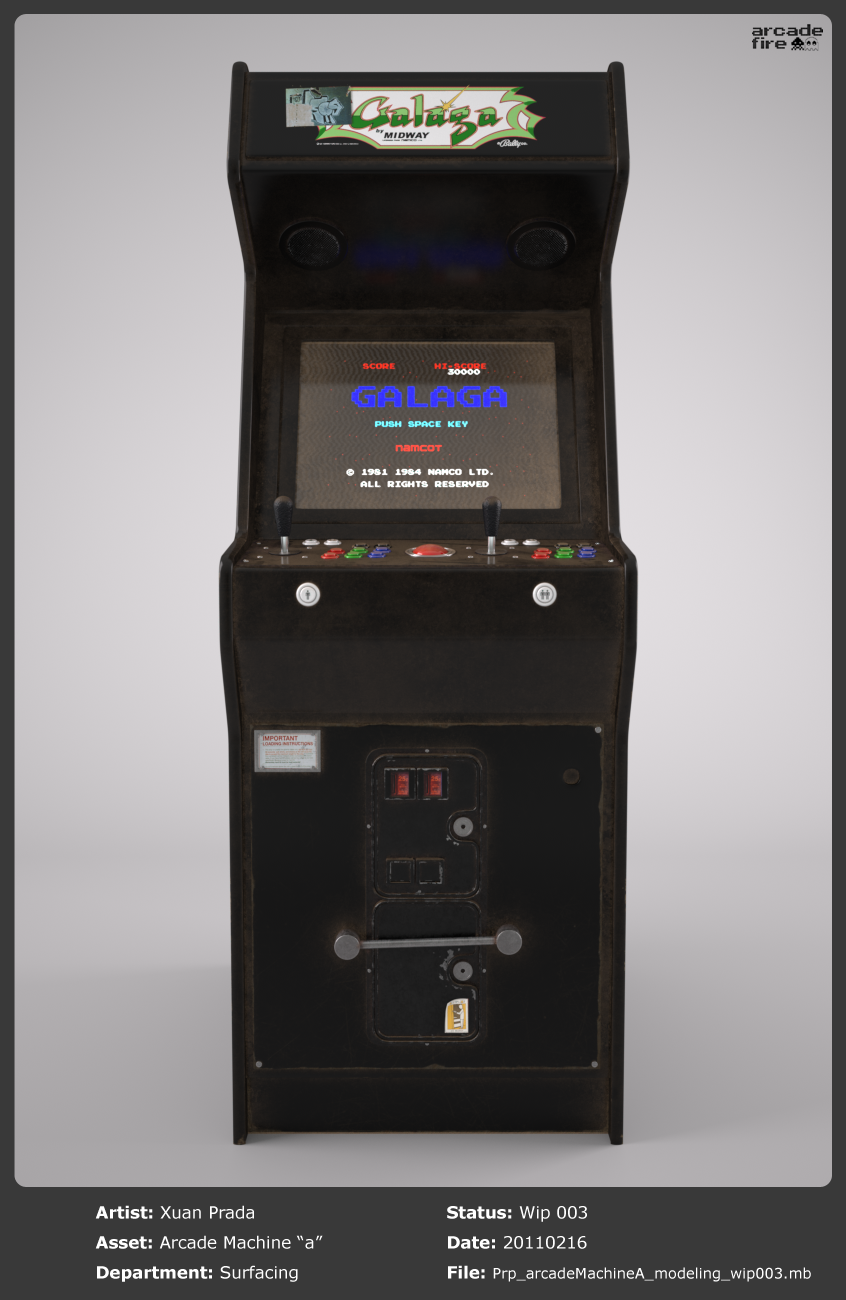
Arcade Fire Wip 005.

Shaders and textures finished for this asset.


Click images to enlarge.

2011-02-08

Arcade Fire Wip 004.

Note: The artwork shown in this post doesn't belong to the I Like You short film.
Fast look development.
Time to refine in 3D.


Click to enlarge.

2011-01-22

Inverted occlusion in Max.

People asked me for a step by step installation and usage of Binary Alchemy Color Ray Length shader in 3D Max.
Here we go.

Installation.

  • Download BA Shaders for 3D Max.
  • Copy .dll files here -> "3ds Max 2010\mentalray\shaders_3rdparty\shaders"
  • Copy .mi files here -> "3ds Max 2010\mentalray\shaders_3rdparty\include"
  • Edit "3rdparty.mi" located here -> 3ds Max 2010\mentalray\shaders_3rdparty
  • Your "3rdparty.mi" must be something like this.

Usage.
  • Create a matte/shadow shader and uncheck "receive shadows" and "use ambient occlusion".

  • In the "camera mapped background" input, connect a "BA_color_raylength" shader.

  • Play with the "spread" to control the behaviour of the occlusion.
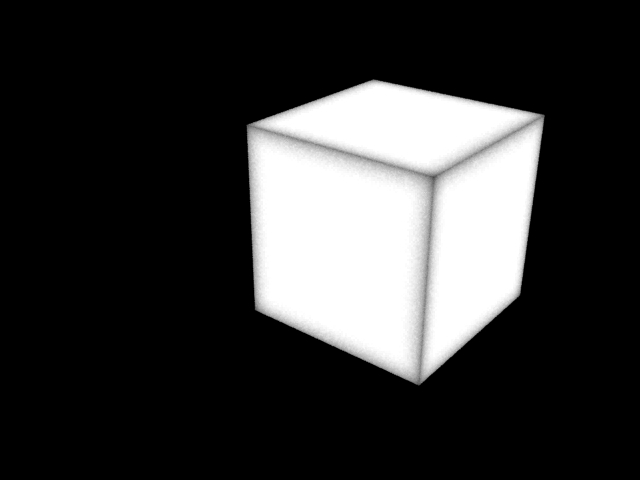
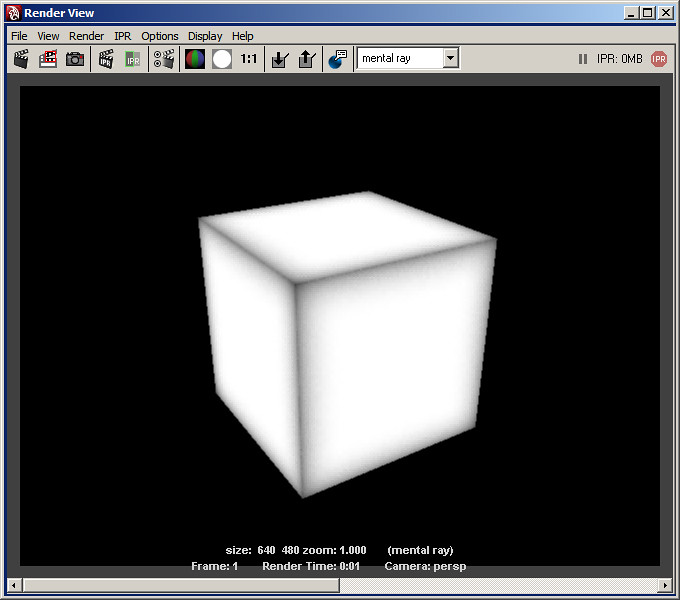
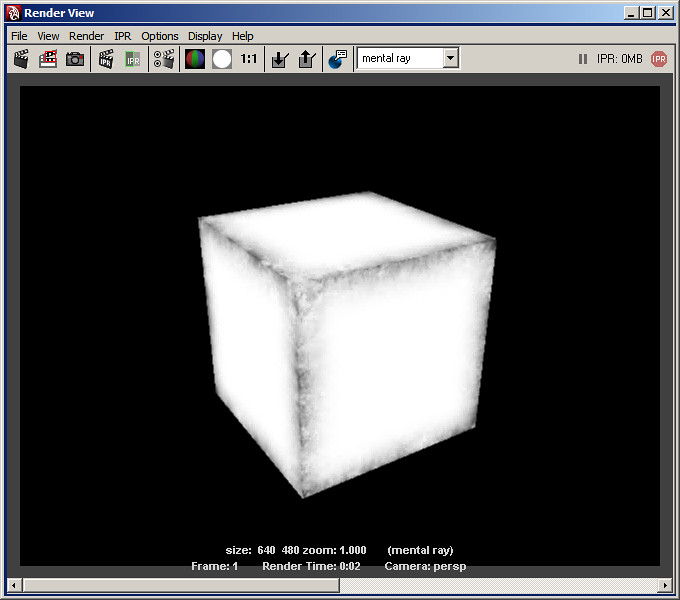
  • Once rendered you'll have something similar to this.

  • Mix the "BA_color_raylength" with procedural maps o bitmaps to improve the result.

Edit: The most important parameters to play with are "spread" and "far output".

2011-01-11

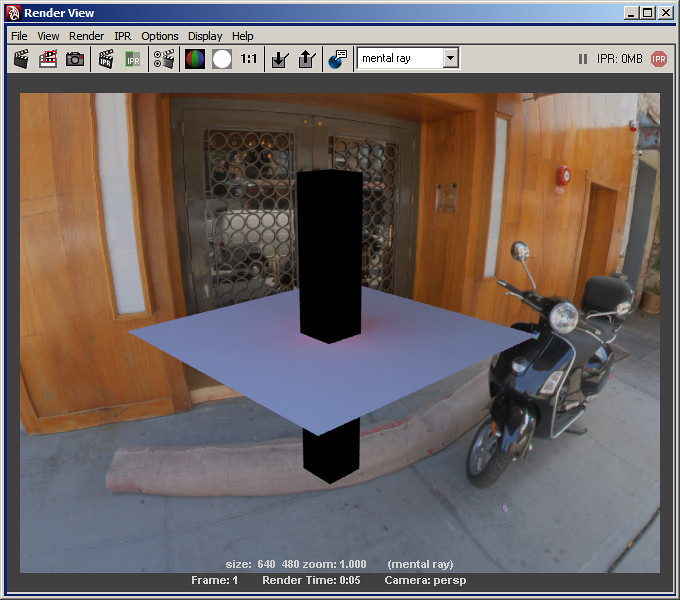
Black hole with FG contribution.

Black holes are a key feature in 3D lighting and compositing, but black holes with bounced information are super!

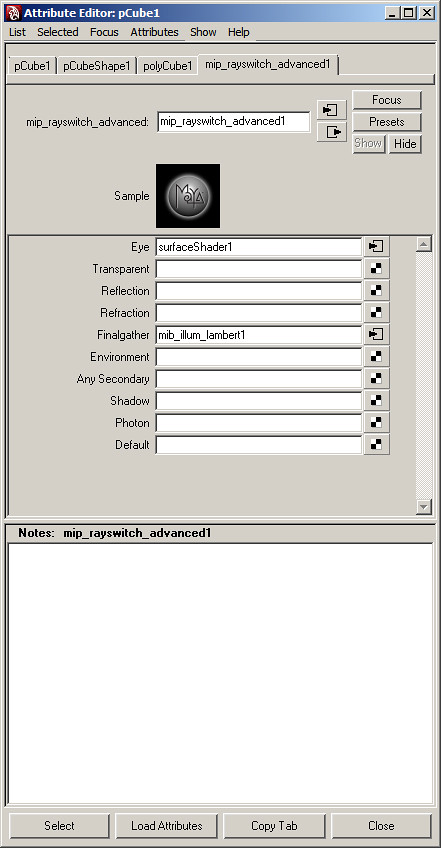
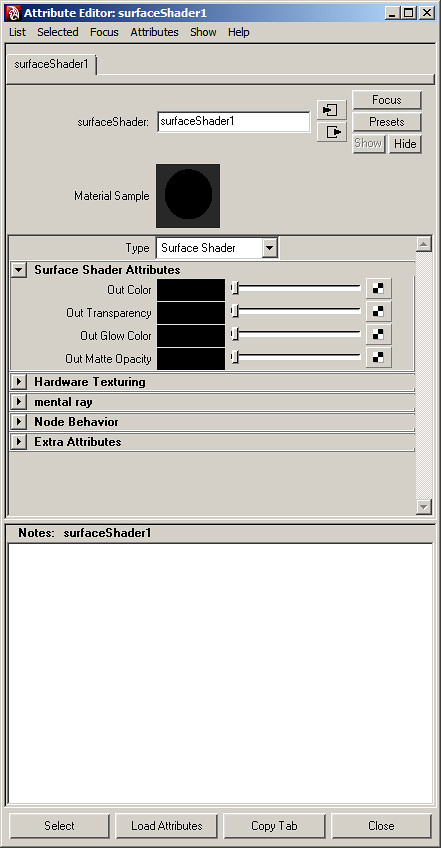
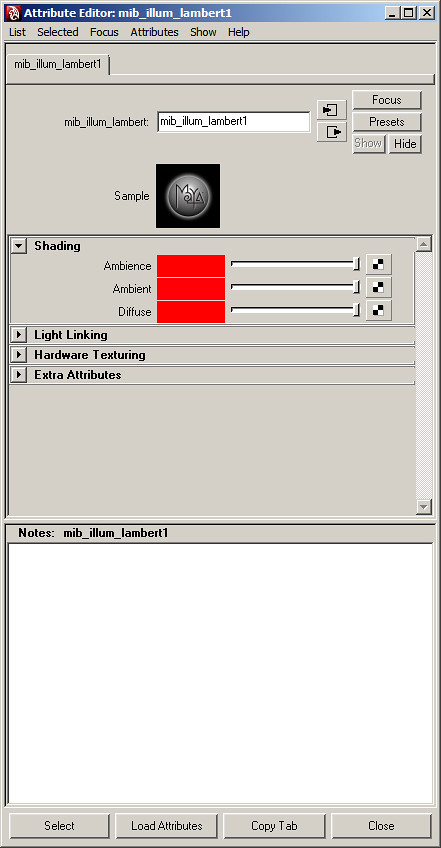
- Apply a Mental Ray Production Shader called "mip_rayswitch_advanced" to your black hole object.


- In the "eye" channel, connect a "surface shader" with the "out_matte_opacity" parameter pure black.


- In the Final Gather input, connect the original shader of your object. (a blinn shader for example)


Beauty pass.

Alpha channel.

2011-01-06

Inverse dirtmaps.

Sometimes is very useful generate inverse occlusion bakes to reach an interesting point to start to paint our dirt maps.
Vray dirt material is perfect for this goal, but if you don't works with Vray, is very easy to do the same with Mental Ray and Binary Alchemy Shaders.

Read below.

- You need to install the Binary Alchemy Shaders. Some packages are free and you will have to pay for another ones.
- Apply a "surface shader" to the object and connect a "BA_color_raylenght" to it.
- Put this shader in "Inverted Normal" mode and play with his parameters.


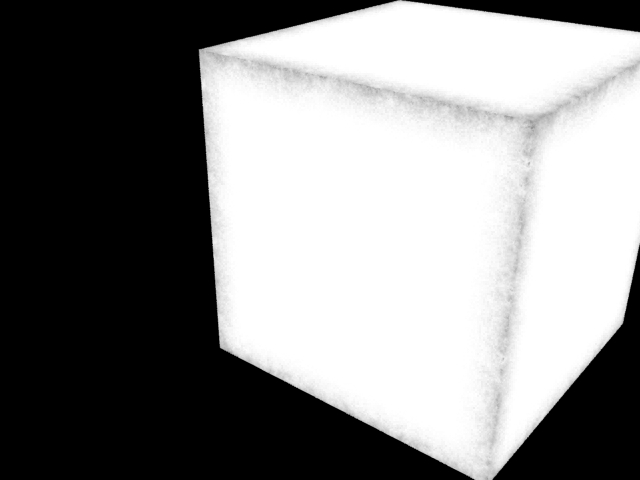
- We reach an inverted "ambient occlusion".


- Use a "blend colors" , "layered shader" o similar to combine this inverted occlusion with a nice bitmap. (use this technique for that).


Sample scene for Maya.
Binary Alchemy Shaders for Maya.

Edit: The most important parameters to play with are "spread" and "far output".

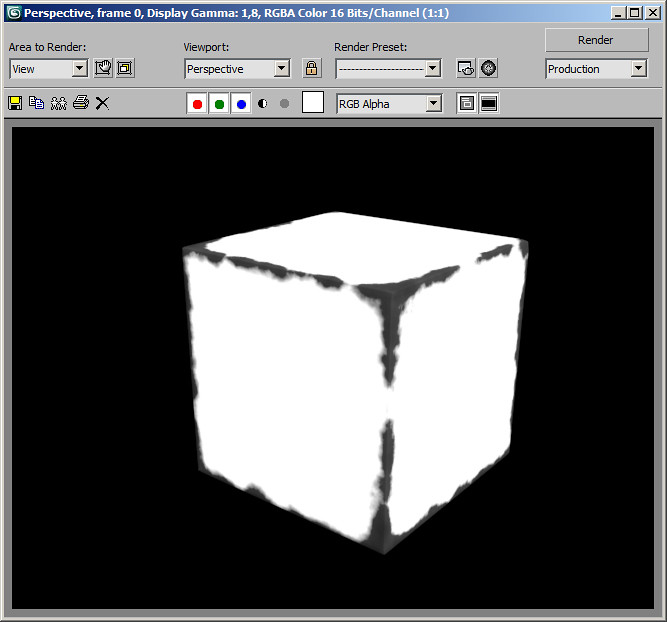
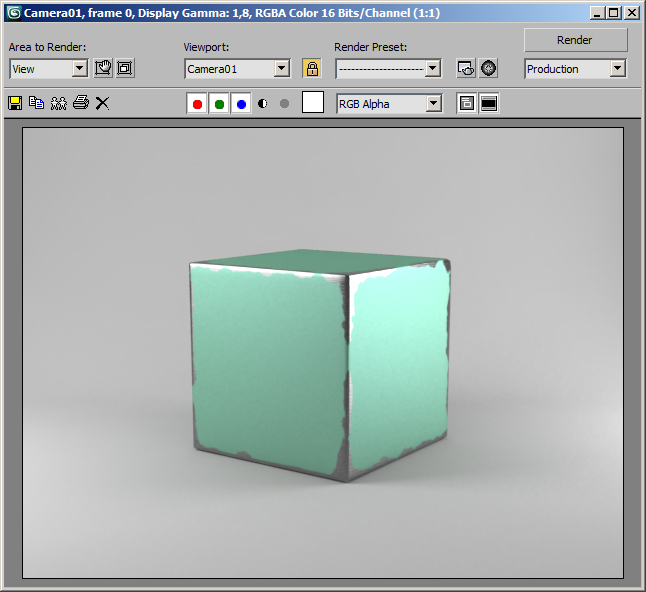
Worn edges.

This technique is based on "worn edges techniques" by Neil Blevins.

Requirements:

- 3D Max Scanline Render.
- SoulBourn Scripts.
- Warp Texture Script.
- All the objects must be with a correct UV mapping.

Procedure:

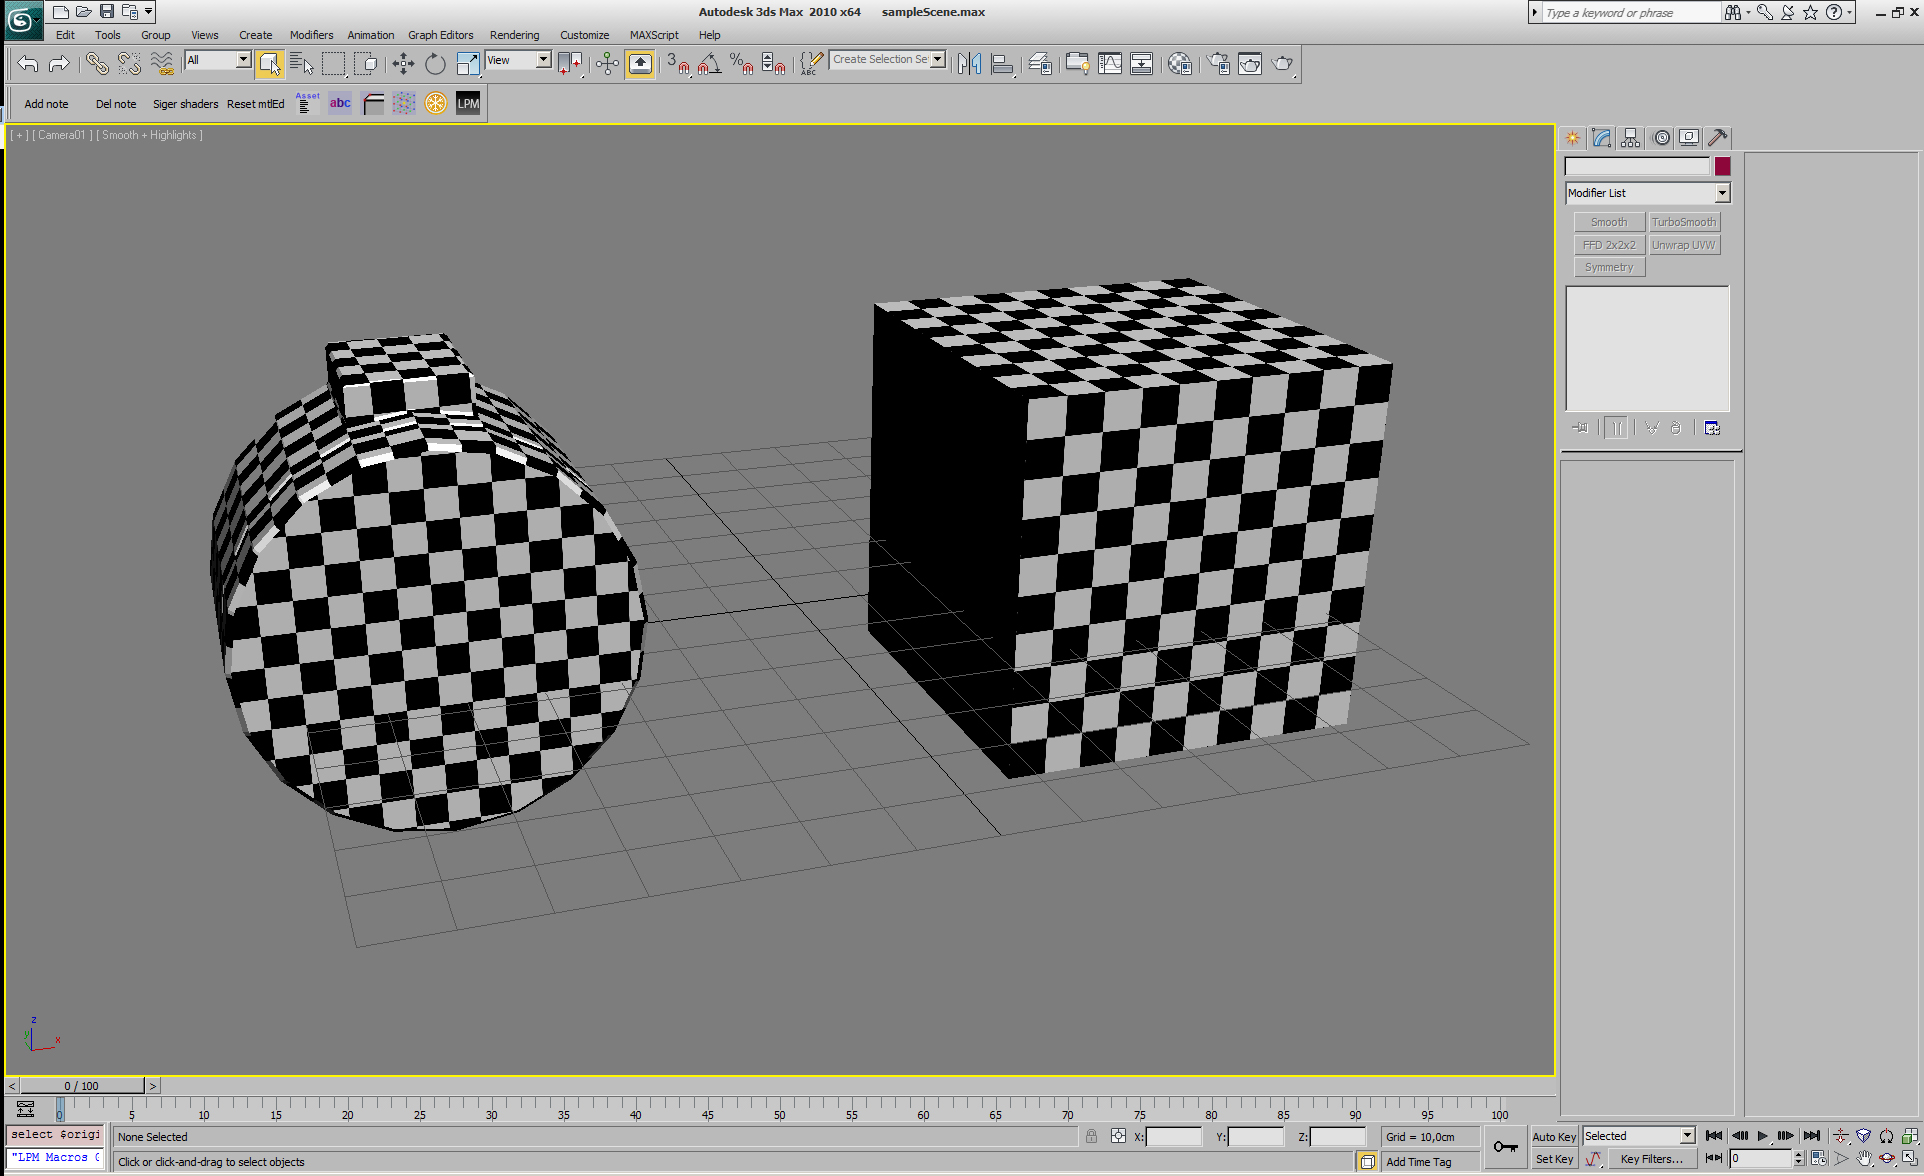
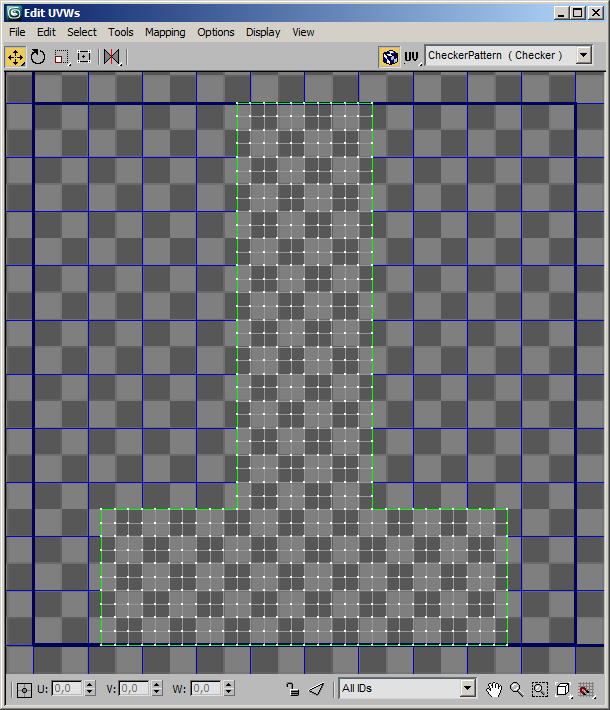
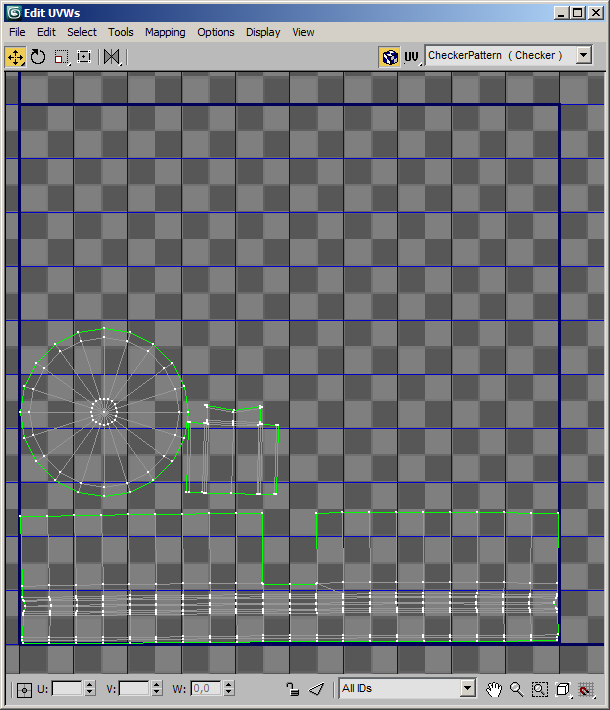
- We must complete perfectly the UV mapping of the objects, without overlappings and similar common issues.


- To reach better results, we need more geometry information, especially in the corners.
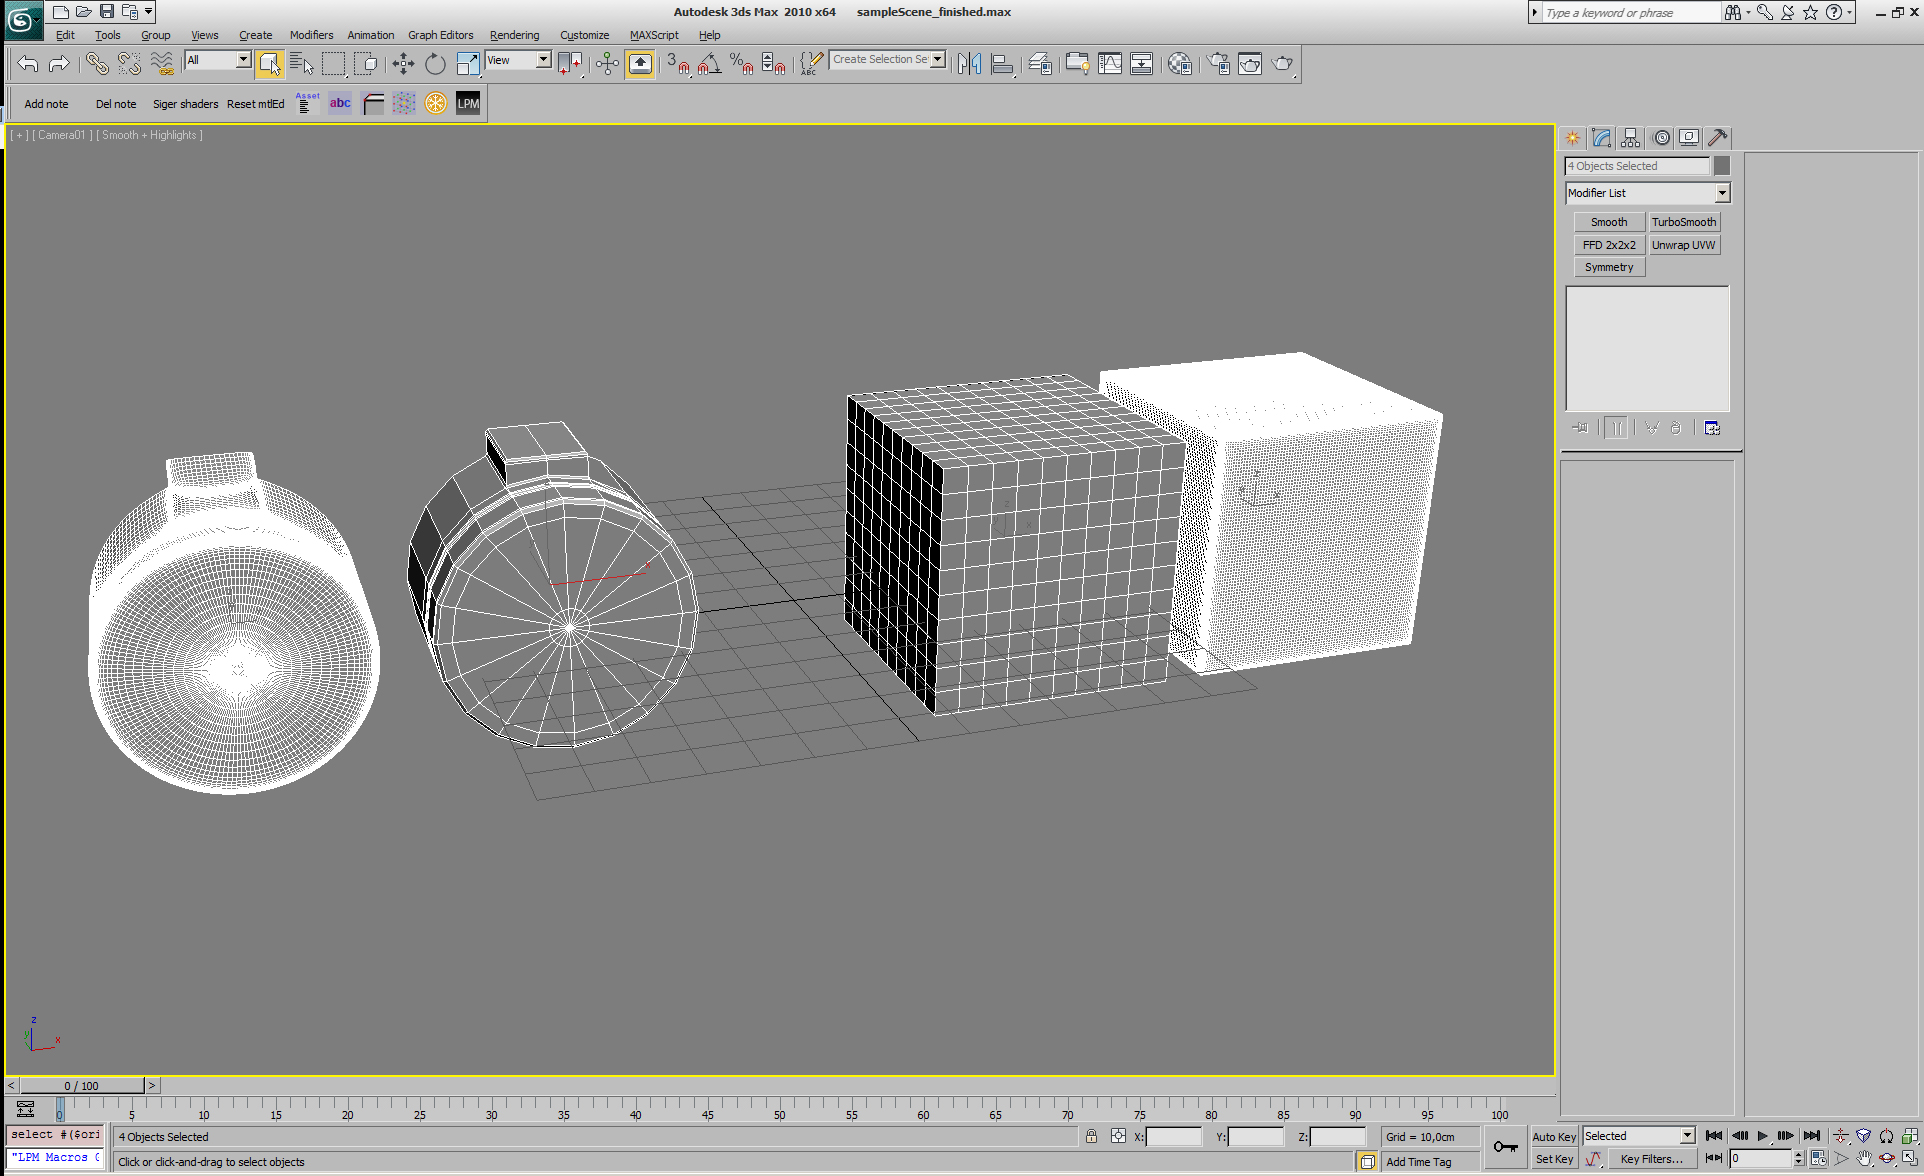
- For that purpose, duplicate the objects, rename them and apply them some bevels in the corners and one or two turbosmooths if necessary. (but try first only adding bevels).


- Note: All the object mesh must be "Editable Poly".
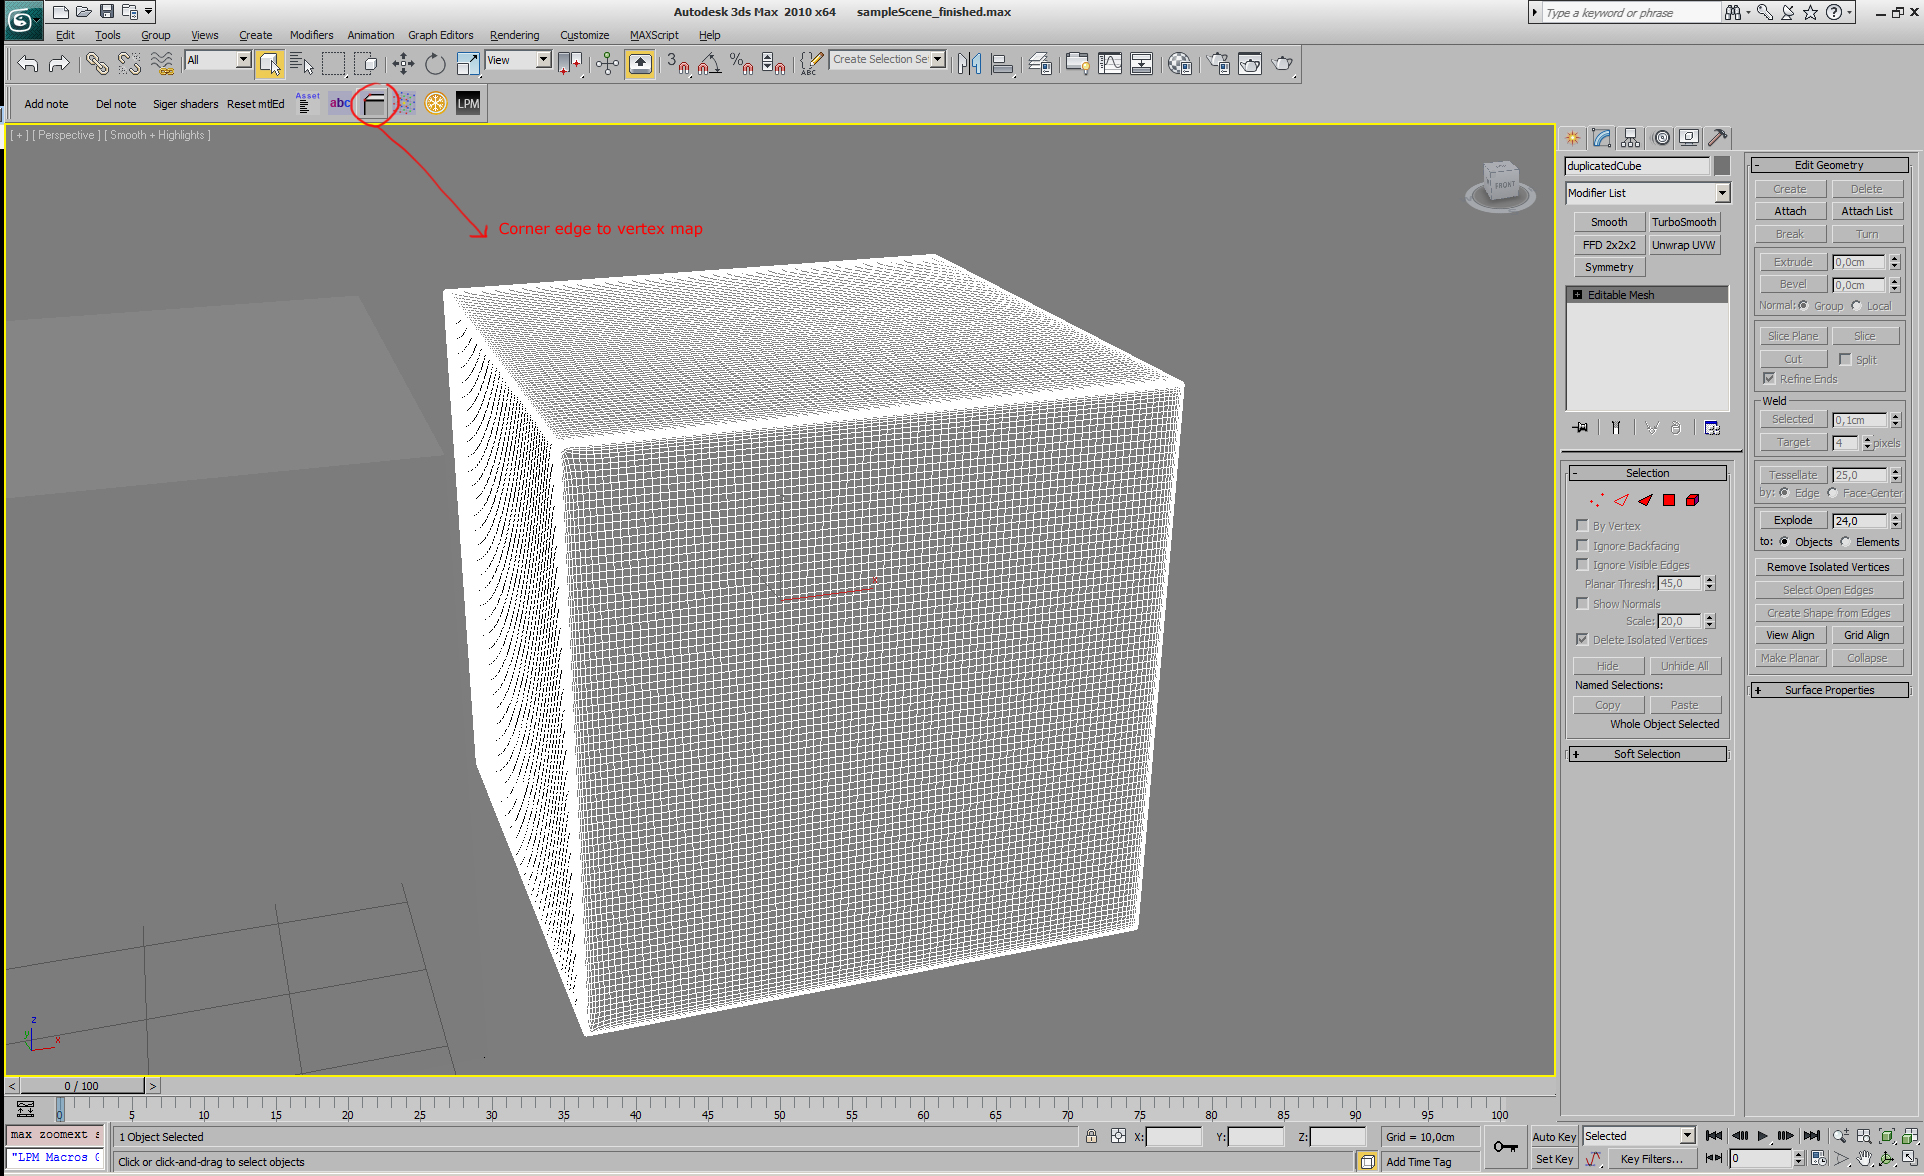
- Select the object and execute "Corner edge to vertex map" script.


- We will have to play with the low and high angle parameters, especially decreasing the intensity of the low angle when more complex geometry has the object.
- The next step is to distort this mask created by vertex color, to give it more caotic shape and indeed, more real aspect.
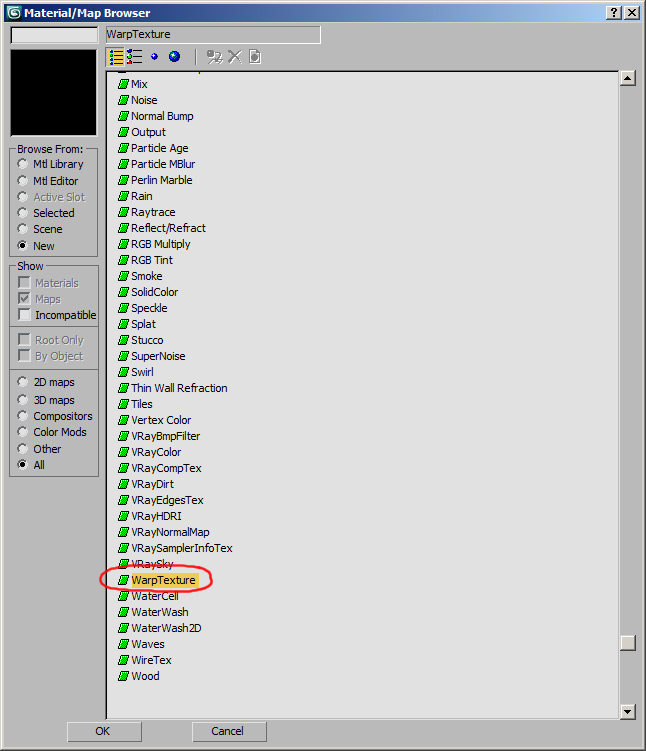
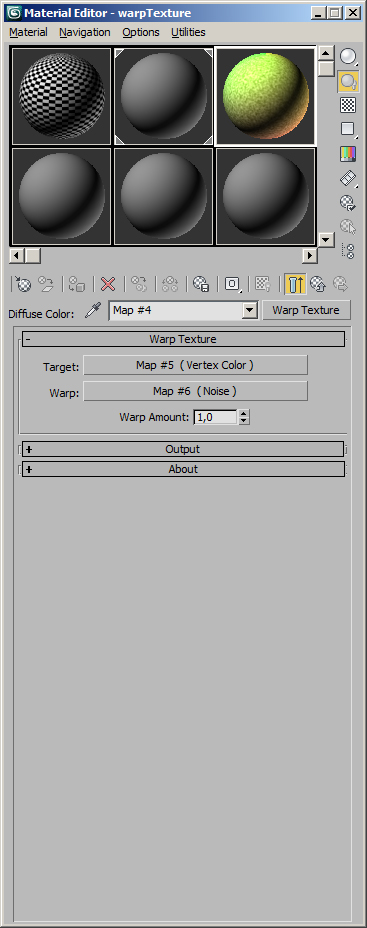
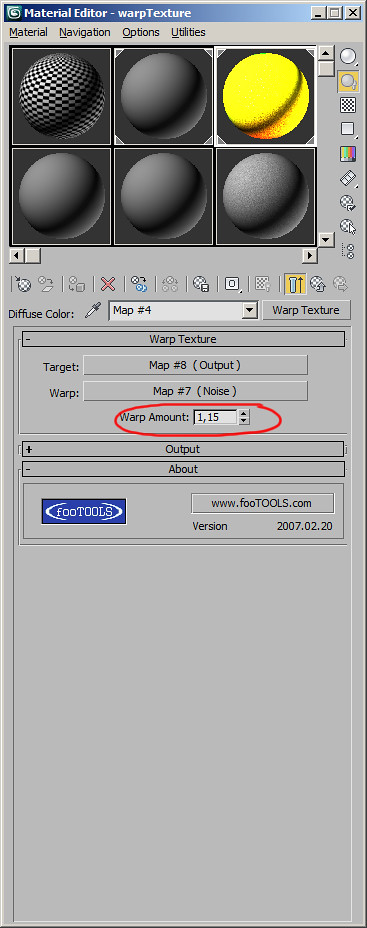
- We need to download the "warp texture" plugin.


- In a standard material connect the warpt texture to diffuse channel.
- In the target input connect a vertex color. 3D Max put by default the vertex information which we have generated previously with the corner edge to vertex script.


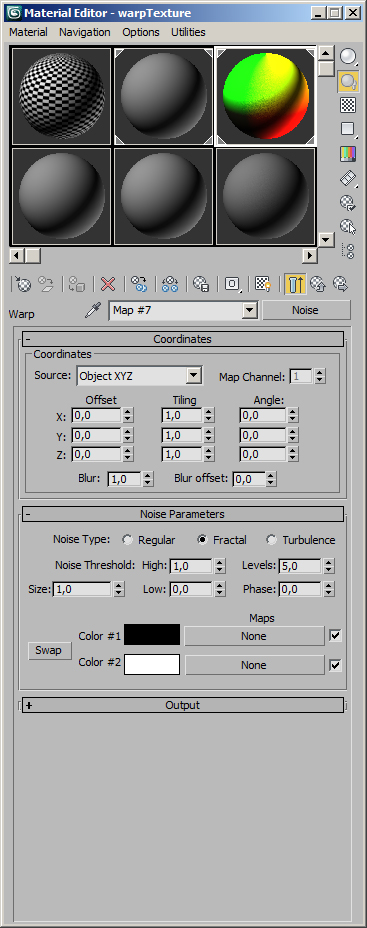
- In the warp input connect a procedural noise, whose parameters will vary depending of scene scale and object size.


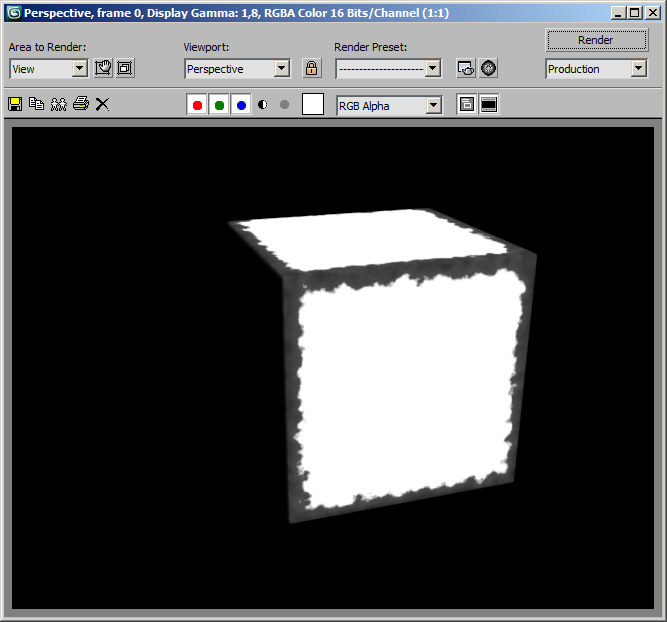
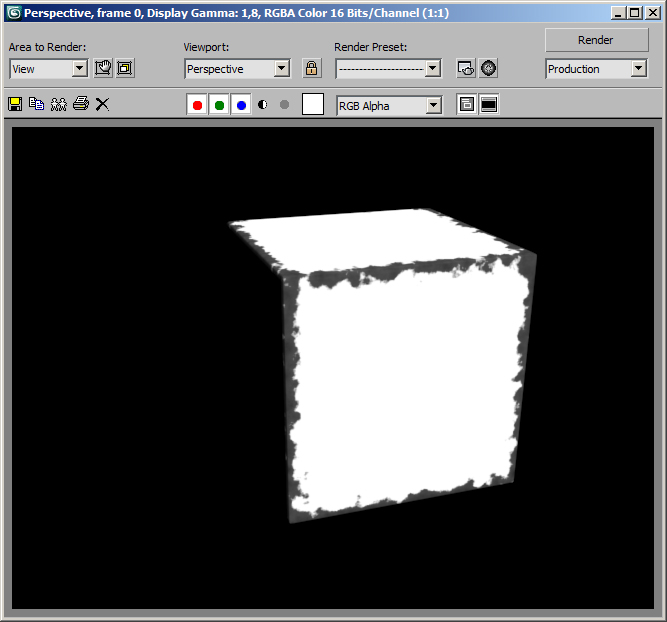
- If we hit a render we reach a pretty decent results, but we need to define better our mask.


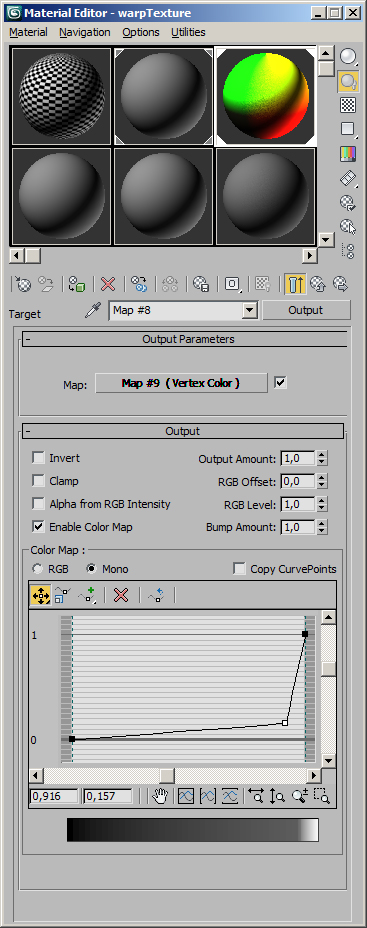
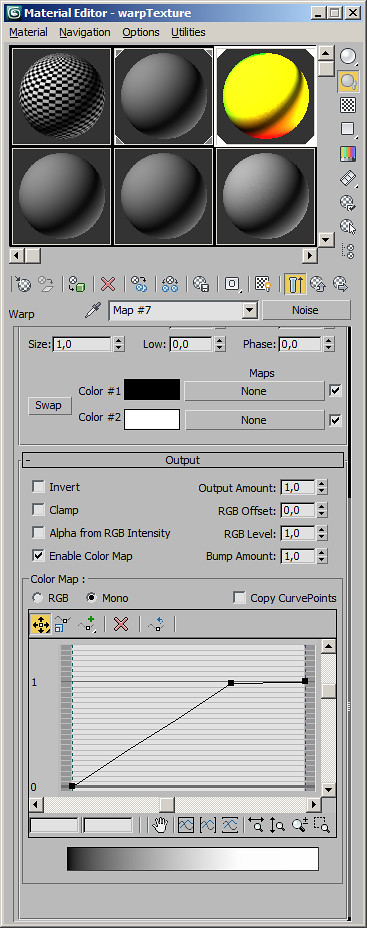
- If we put an output in the vertex color channel, we can play with the curve for empathize the results.


- In the noise we can also play with his output.


- Finally we can play with the "warp amount" to make variations of the mask.


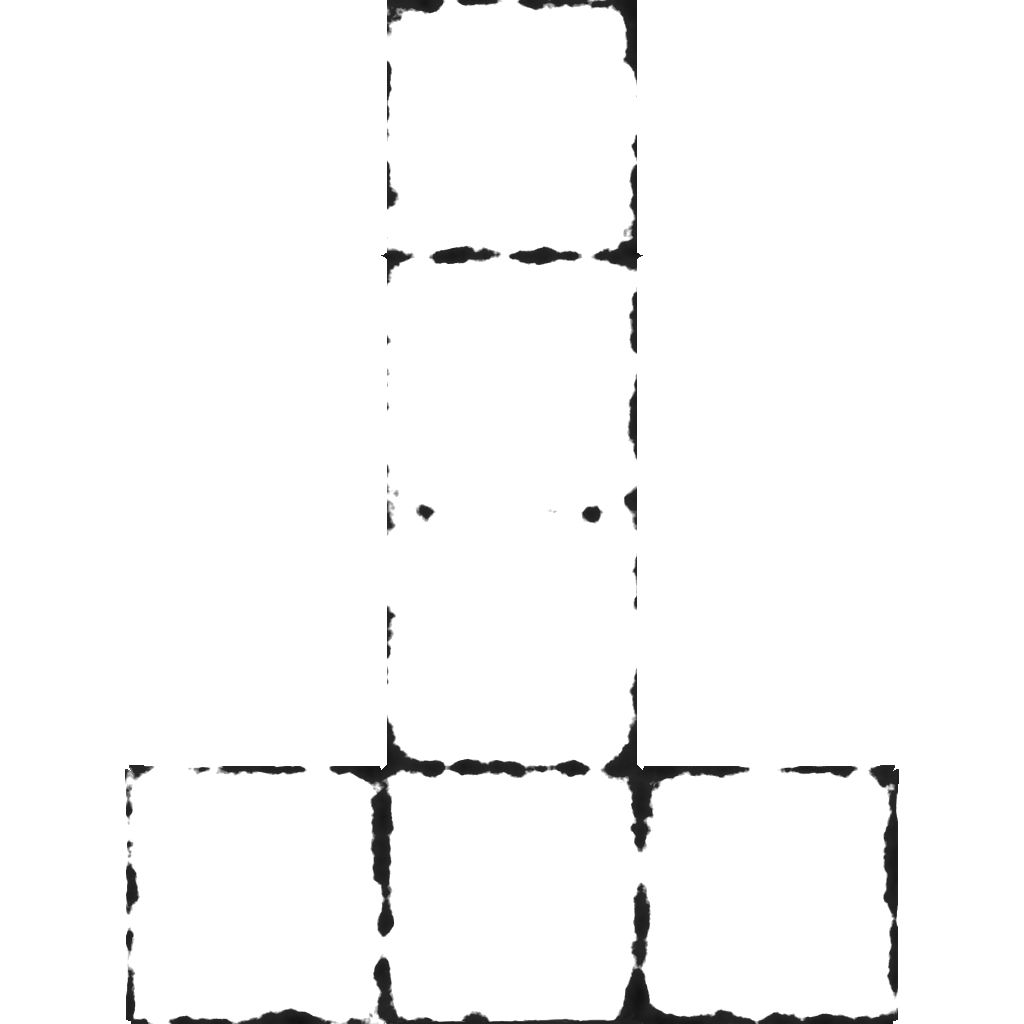
- To finish, we can bake this mask to paint it in a more appropriate software.


Neil Blevins sample scene.
My sample scene.
My sample scene for rendering.
2010-12-03

Improved dirtmaps.

When we start the task of texturing the props, environments or characters, one of the first steps we accomplish after completing the UV Mapping, is baking different texture maps or procedural maps (or any other type) to a later use as a base point to paint our textures.

Probably the most baked map is the ambient occlusion, to reach a base of dirt on logic areas which we will modify in Photohop, BodyPaint or Mudbox.

With my own experience I think that occlusion bakes are incredibly useful but a little bit boring.
Find below a simple method to create a more funny and live ambient occlusion bakes.


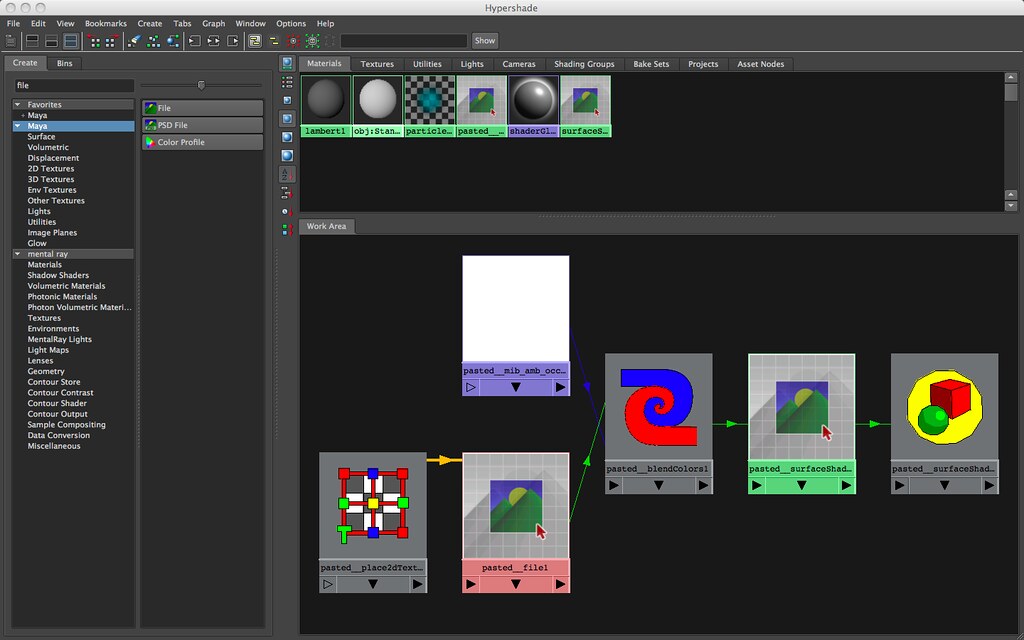
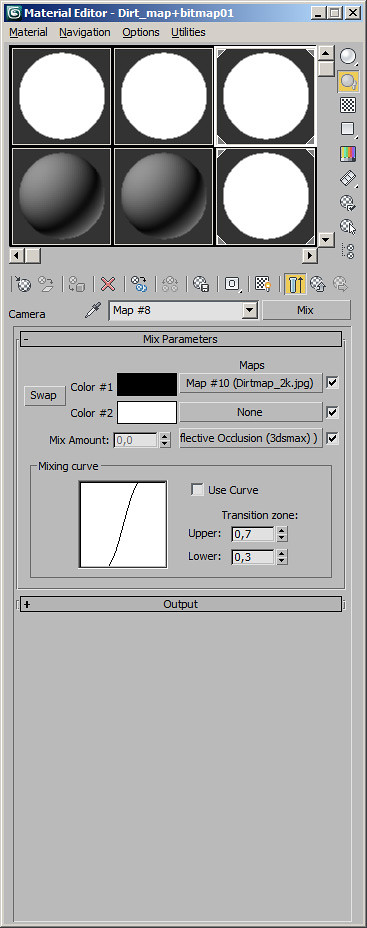
  • Using a costant shader or any other which are not affected by lighting, we mix using mix2colors, blendColors or Mixer.


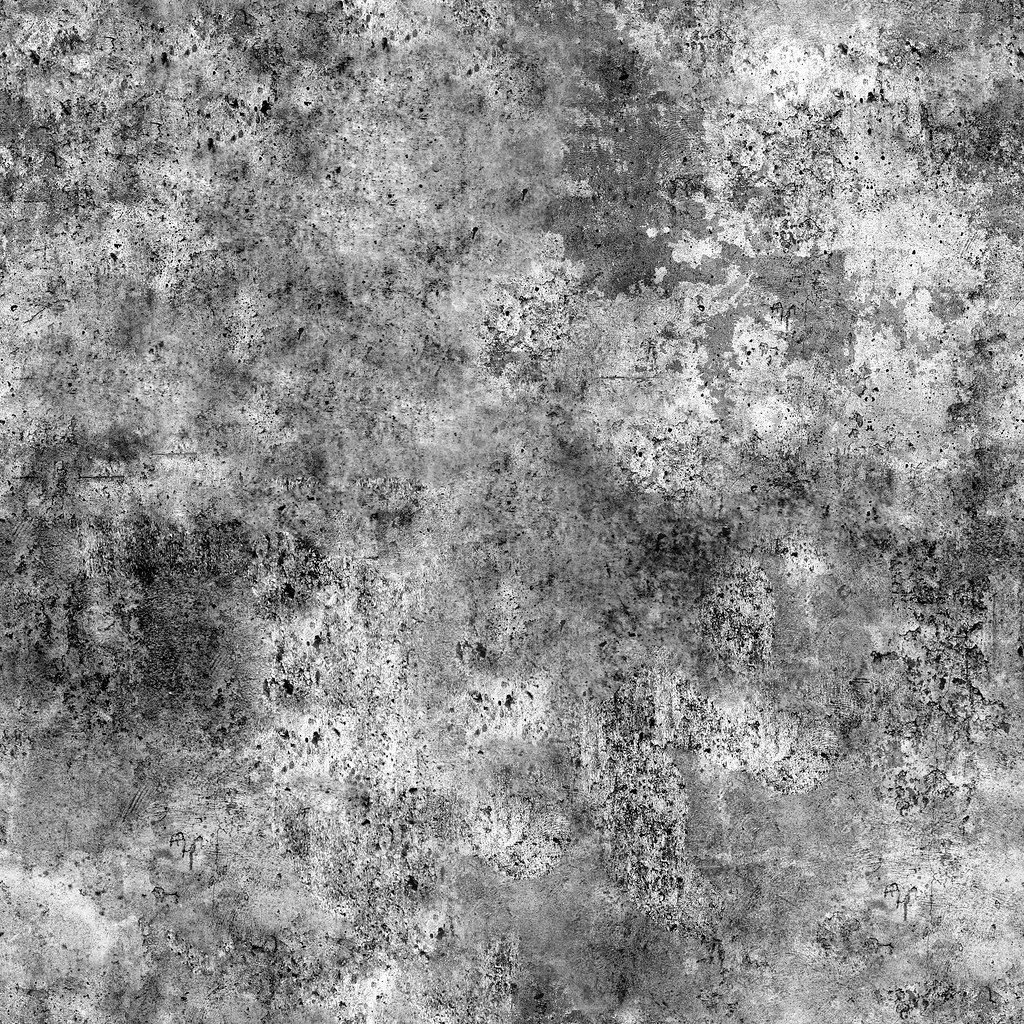
  • In the channel 1 of the mix we use a map. Can be procedural or bitmap. In this example I'm using a tiled bitmap.


  • In the channel 2 of the mix we use a white color.


  • In the mask of the mix we use an ambient occlusion.

With this method we achieve that the bitmaps or procedural maps get masked by the occlusion, creating dirt on the logical and less exposed areas, but with the variation given by the map.

The keys to reach good results are the configuration of the occlusion and the quality of the maps.

---

Versión en Castellano.


Cuando comenzamos la tarea de texturizar un prop, escenario o personaje, uno de los primeros pasos que damos tras terminar el UV Mapping, es hacer distintos bake textures o rendermaps de diferentes mapas prodedurales (o de otro tipo), para a posteriori utilizar como punto de partida para pintar nuestras texturas.

Probablemente el mapa que más "bakeamos" sea el ambient occlusion, para disponer de una base de suciedad lógica, que modificaremos en Photoshop, BodyPaint o Mudbox.

Con el paso del tiempo, he llegado a la conclusión de que los bakes de occlusion aunque son realmente útiles, son un poco aburridos por si solos.

Aquí abajo muestro un simple método para que los dirtmaps generados mediante ambient occlusion tengan un poco más de vida.


  • Partiendo de un shader tipo constant o cualquier otro que no le afecte la iluminación mezclamos mediante un mix2colors, blendColors o Mixer.


  • En en canal 1 de la mezcla utilizamos un mapa. Puede ser prodecural o bitmap. En este ejemplo estoy utilizando un bitmap previamente "tileado".


  • En el canal 2 de la mezcla utilizamos un colo blanco.


  • En el canal de máscara de la mezcla utilizamos un ambient occlusion previamente configurado.

Con esto conseguimos que el mapa de bits o procedural esté enmascarado por la occlusion, creando suciedad en las zonas lógicasny menos expuestas, pero con la variación dada por el mapa.

Las claves para obtener buenos dirtmaps base, son la configuración de la occlusion y la trama del mapa de bits o procedural.

Sample scene.


Occlusion, boring.

DirtMap, funny.

Dirt texture map.


RenderTree network.


HyperShade network.


3D Max MatEditor.