
Requirements:
- 3D Max Scanline Render.
- SoulBourn Scripts.
- Warp Texture Script.
- All the objects must be with a correct UV mapping.
Procedure:
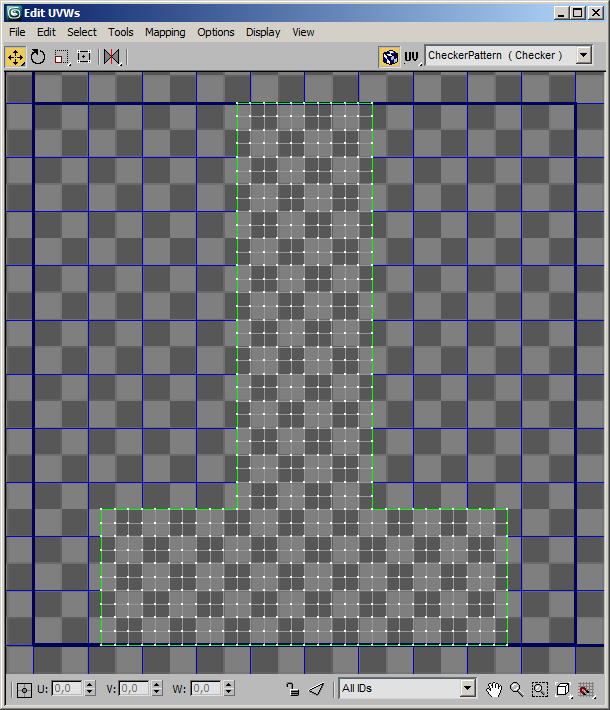
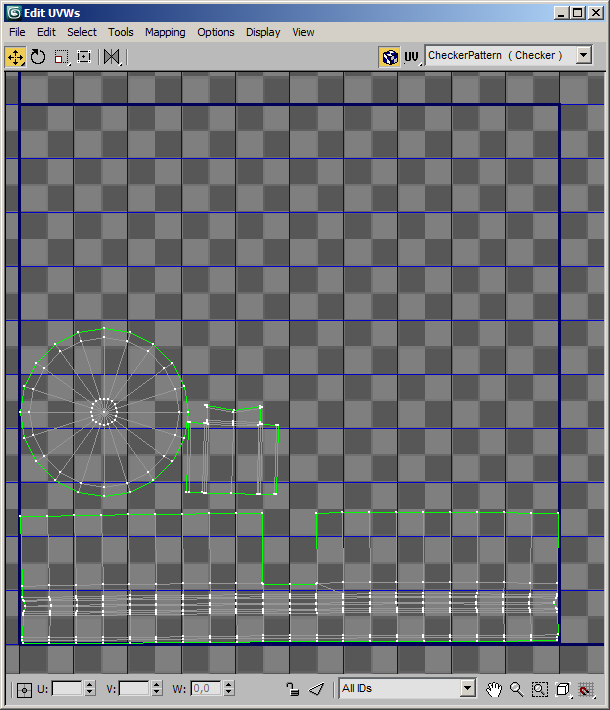
- We must complete perfectly the UV mapping of the objects, without overlappings and similar common issues.
- For that purpose, duplicate the objects, rename them and apply them some bevels in the corners and one or two turbosmooths if necessary. (but try first only adding bevels).
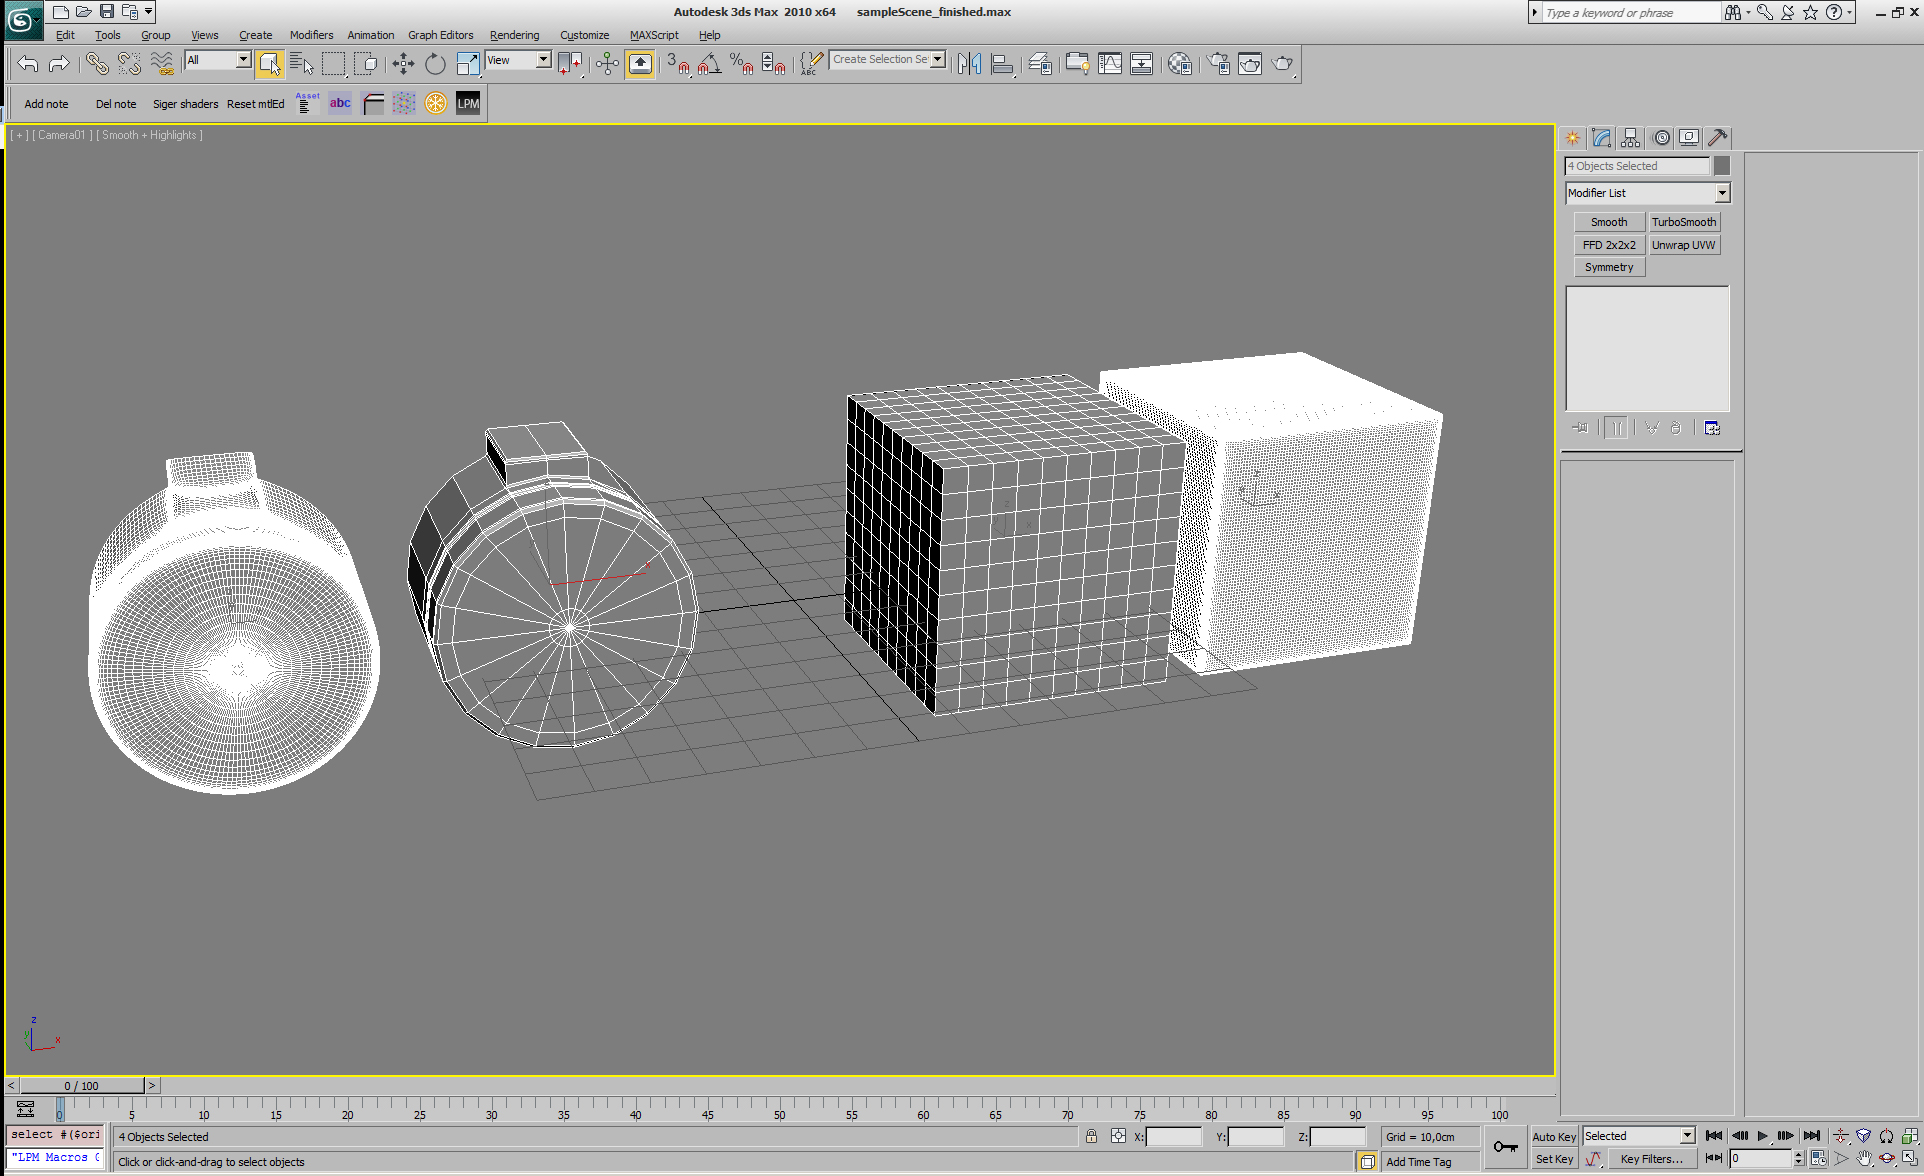
- Note: All the object mesh must be "Editable Poly".
- Select the object and execute "Corner edge to vertex map" script.

- We will have to play with the low and high angle parameters, especially decreasing the intensity of the low angle when more complex geometry has the object.
- The next step is to distort this mask created by vertex color, to give it more caotic shape and indeed, more real aspect.
- We need to download the "warp texture" plugin.
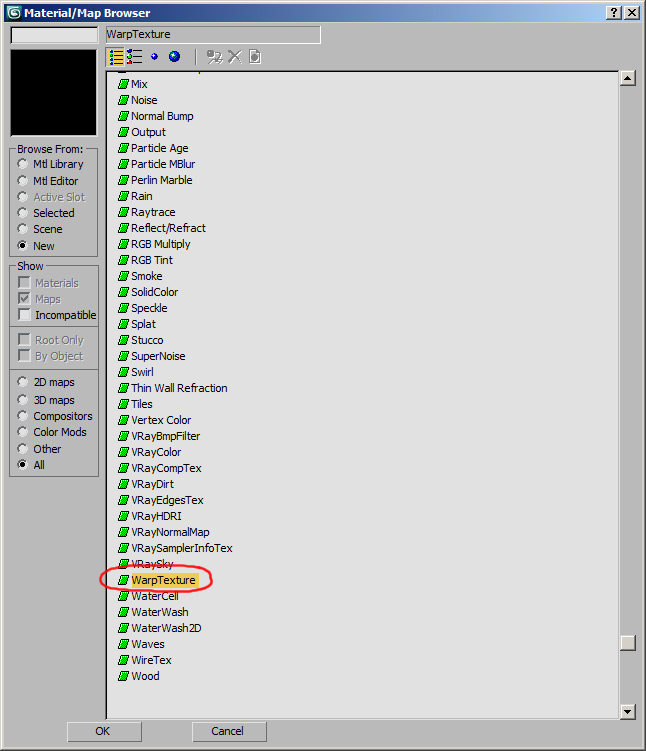
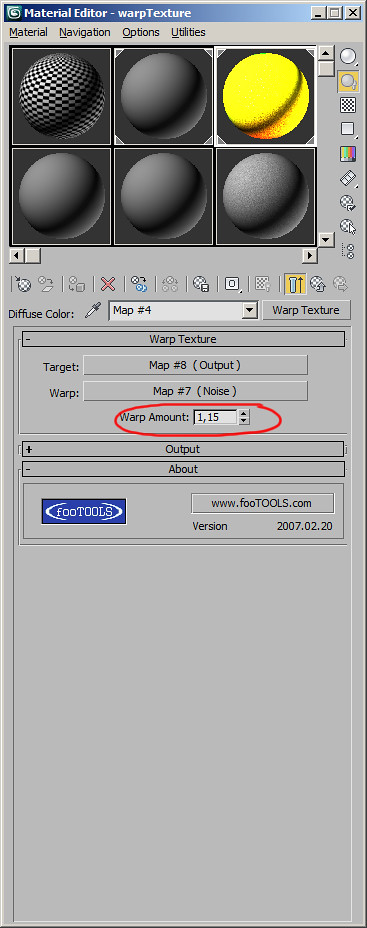
- In a standard material connect the warpt texture to diffuse channel.
- In the target input connect a vertex color. 3D Max put by default the vertex information which we have generated previously with the corner edge to vertex script.
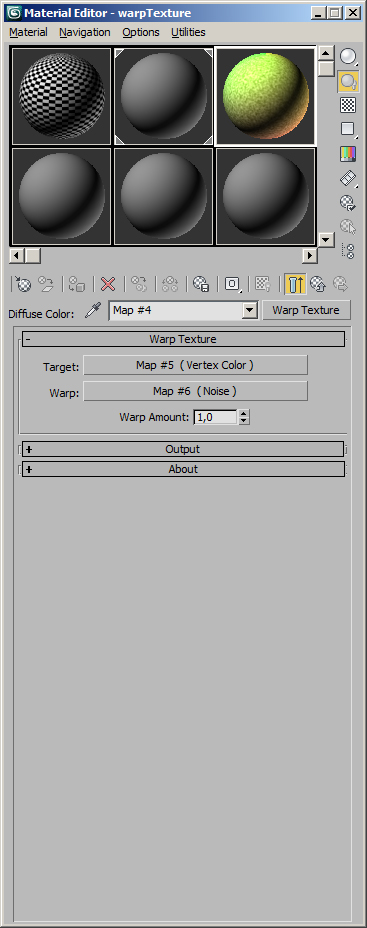
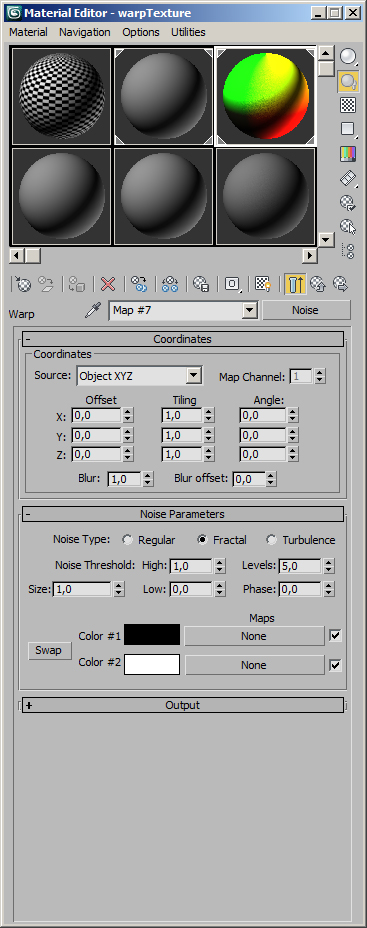
- In the warp input connect a procedural noise, whose parameters will vary depending of scene scale and object size.
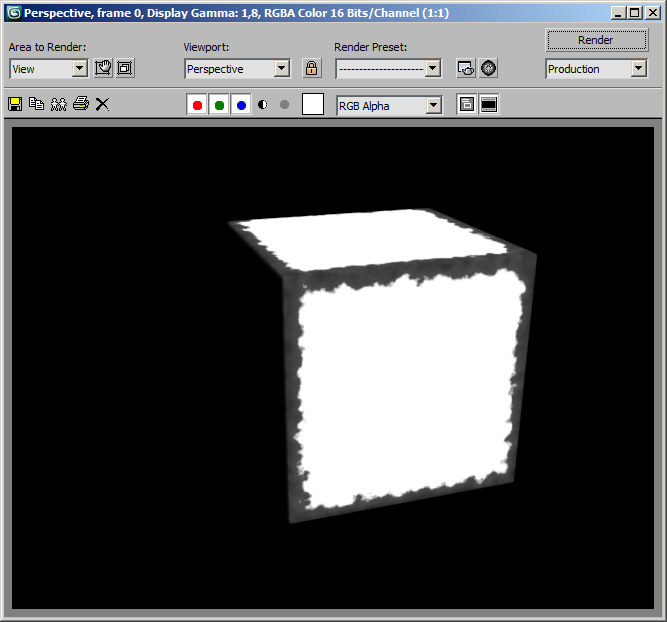
- If we hit a render we reach a pretty decent results, but we need to define better our mask.

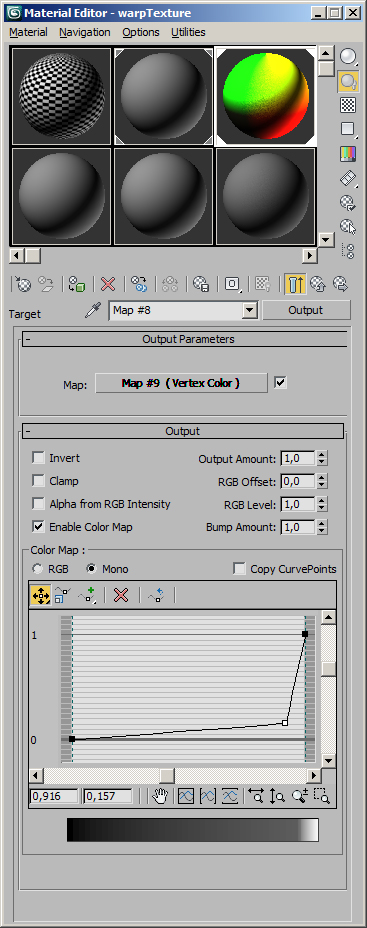
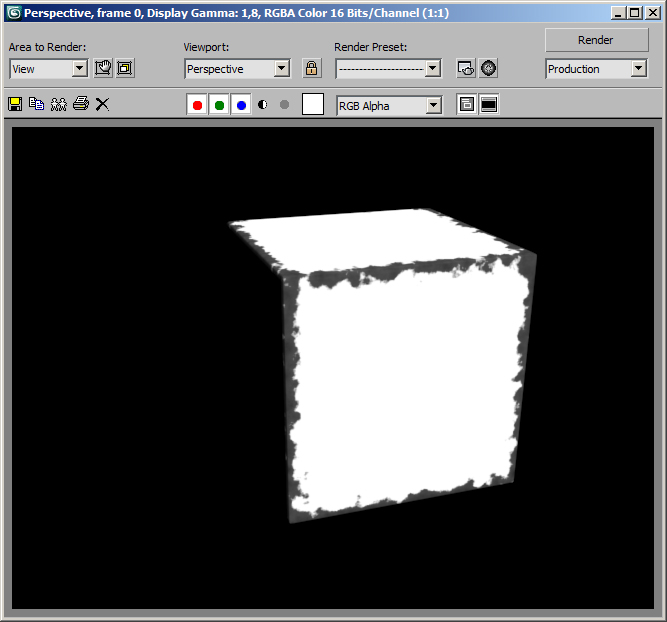
- If we put an output in the vertex color channel, we can play with the curve for empathize the results.
- In the noise we can also play with his output.
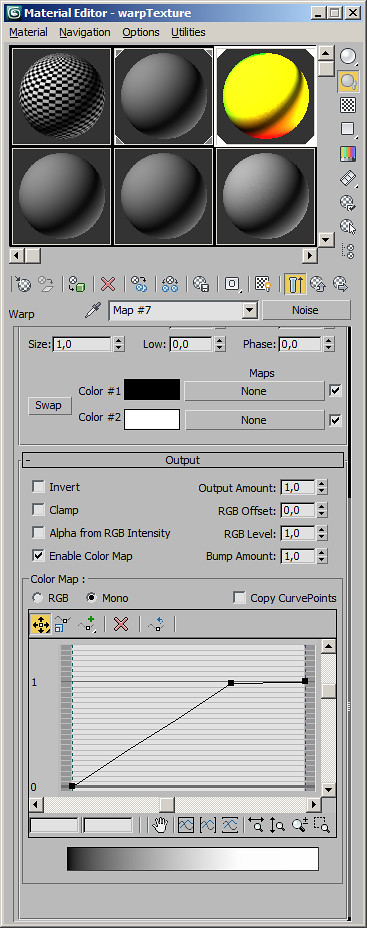
- To finish, we can bake this mask to paint it in a more appropriate software.

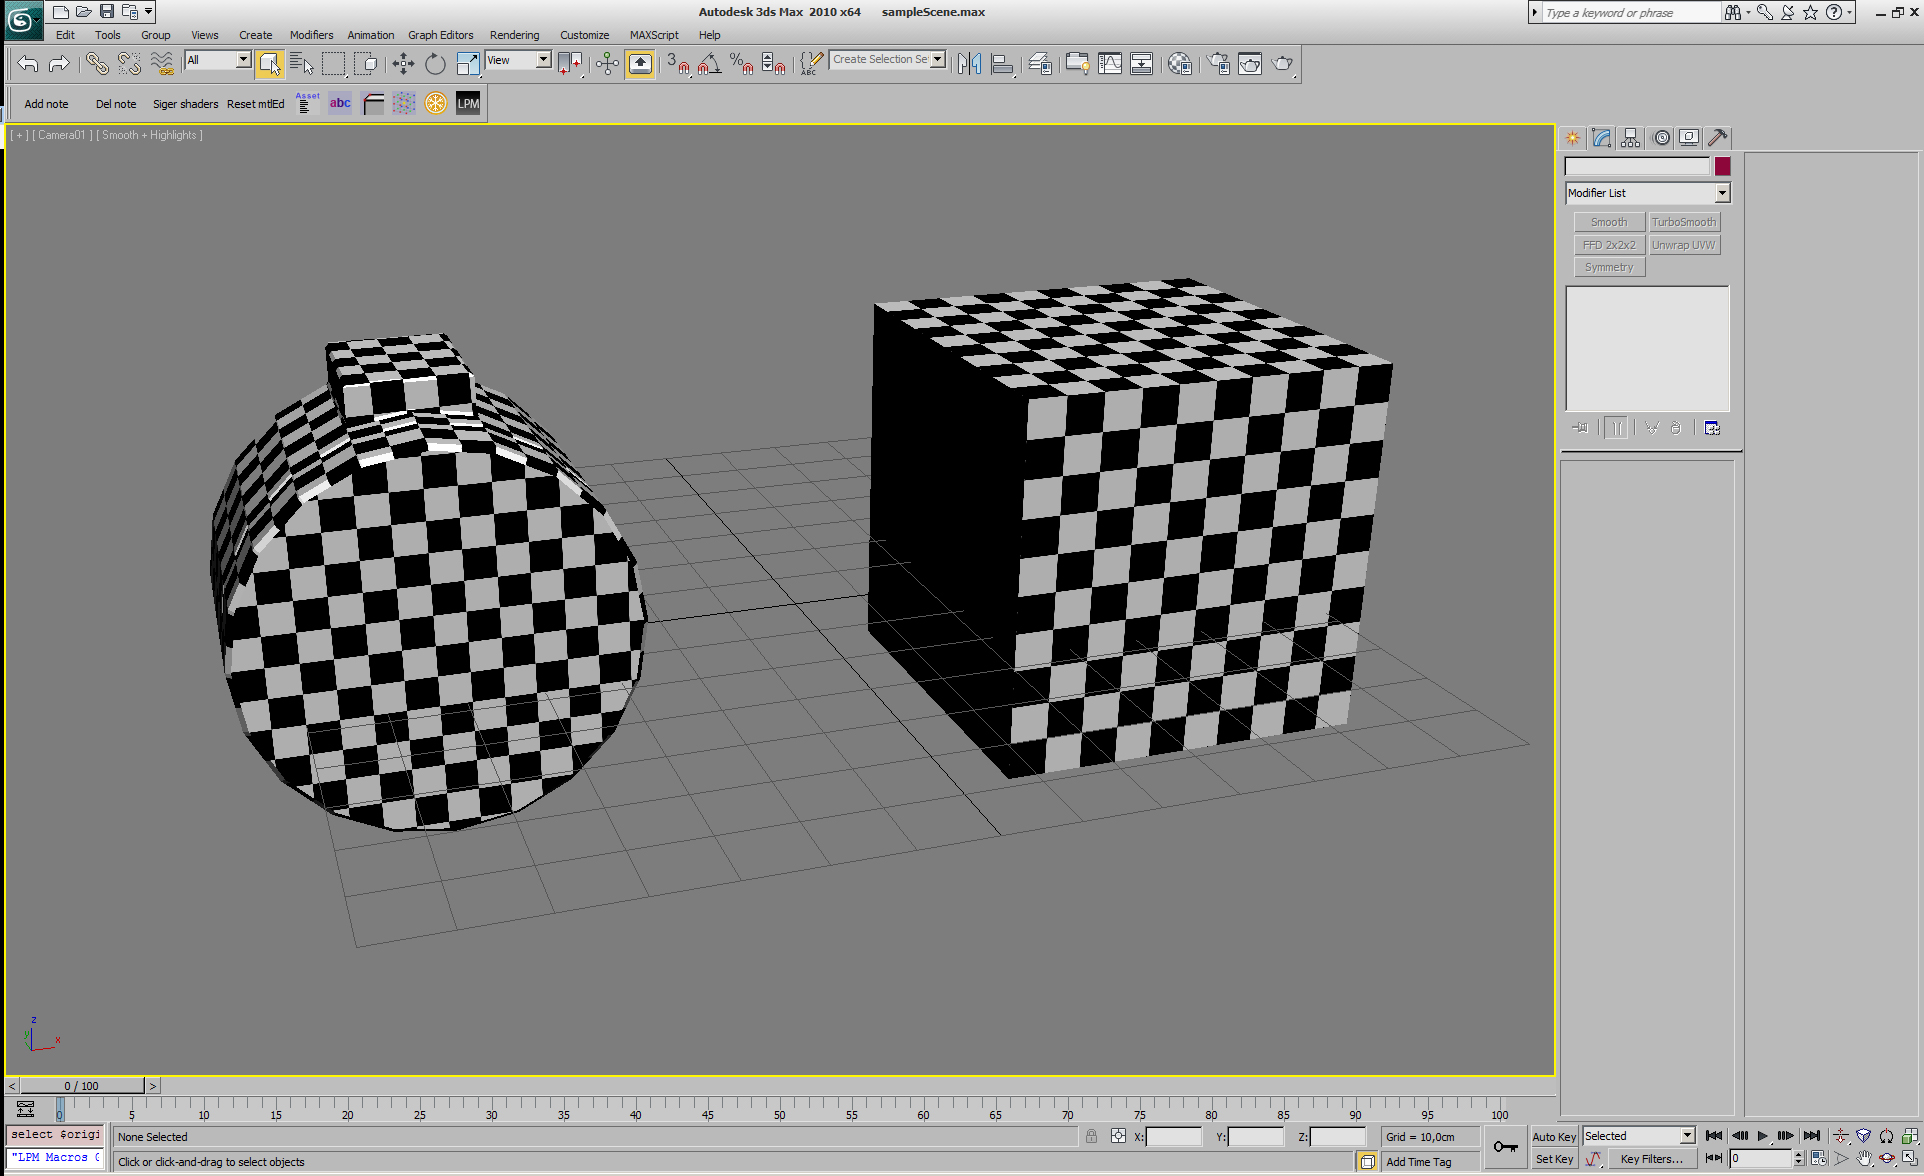
My sample scene.
My sample scene for rendering.
No comments:
Post a Comment