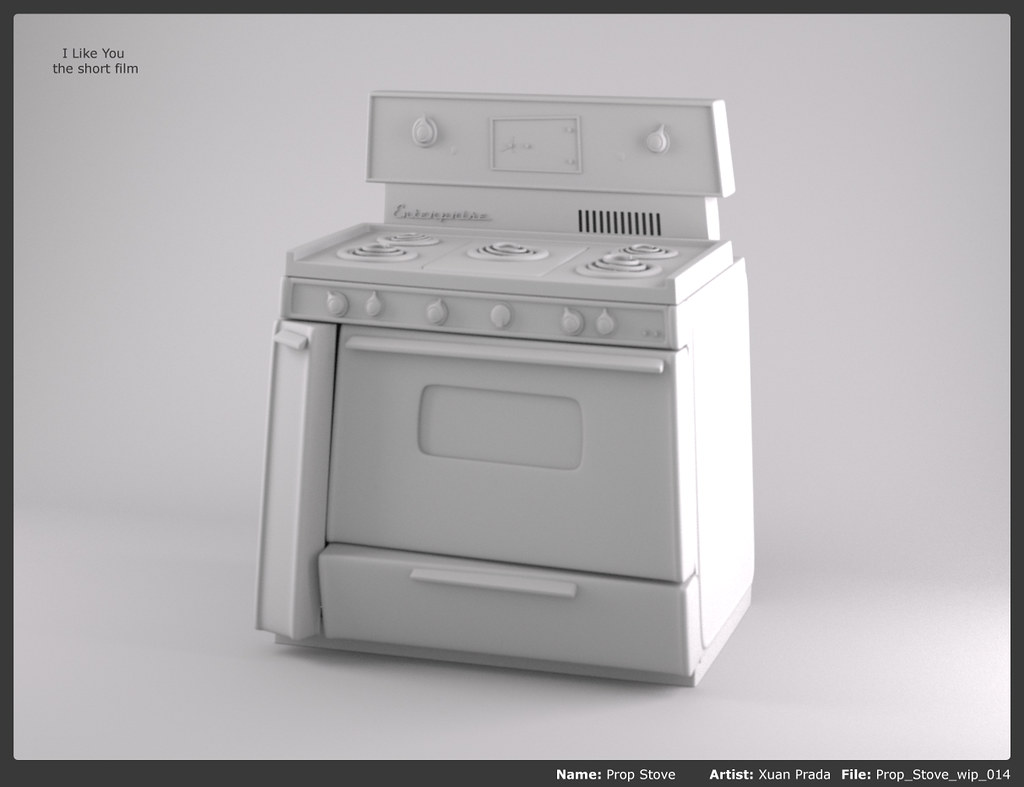
Click image to enlarge.
01 - Concept art
The modeler gets the art or the main reference given from the Art Department or from the artists.
In this phase are already detailed the main volums of the prop to be modeled, the scale and the style.
02 - References
The modeler is in charge of searching different references related to the prop to be modeled. It could be photographies of real objects searched on the internet, photos taken by the modeler himself, references from other movies, etc.
The ideal scenario is having a good set of references, around ten would be a good number.
03 - Material properties
Evaluate a bit the materials of which the prop to be modelled is made: metal, plastic, paper, etc.
The model has to give the sensation of heaviness, lightness, emptyness or solidness. Obviously, this task will help a lot the shading and the textures, but should be considered from the very start when modelling.
04 - Visual detail
Focus on the small details that distinguish a prop from another. Details always make a difference. For example, when modelling a cable, it being peeled or cut.
05 - Plasticine
Model a plasticine in low resolution with the final volums of the prop. The responsible should approve this task before moving on tothe next step.
06 - Polygonal modelling
Model the prop using polys in a traditional way. Use the lowest resolution available and add two smooth subdivisions most.
07 - Sculpting
If the prop requires it, move on to Mudbox to add small details. Volums will never be created in this step.
08 - Clay renders
Using the appropiate set of lights, create various clay renders with the goal of showing the final model to the supervisor.
09 - Turn around
If necessary, create a turn around using the same lighting set worn for the clay renders.
10 - Director revision
The Director supervises the prop model to make decisions about possible changes or approval.
11 - Approval
The Director approves the modelling work.
12 - Retake
The Director suggests changes in the modelling job.
13 - Shading&Texturing department
Job finished and moved on to the next department.
14 - Back to step 06
If the Director suggests changes, go back to step 6 of the process.
--- Spanish version ---
01 - Concept art
El modelador coge el arte y la referencia principal dada por el departamento de arte.
En este momento, debería de quedar claro el detalle de los volúmenes, la escala y el estilo.
02 - References
El modelador se encarga de buscar diferentes referencia relacionadas con el prop. Pueden ser fotografías de objetos reales buscadas en internet, fotografías tomadas por el propio modelador, referencias de otras películas, etc.
La situación ideal es tener un buen set de referencias. No menos que cincuenta.
03 - Material properties
Es necesario hacer una evaluación de los materiales de los que está construído el prop: metal, plástico, papel, etc.
El modelo tiene que dar la sensación de peso, ligereza, solidez, etc. Obviamente, a este propósito ayudará bastante el trabajo de shaders y texturas, pero debería ser considerado desde la primera fase de modelado.
04 - Visual detail
Hay que poner especial atención en los pequeños detalles que distinguen a un prop de otro. Los detalles siempre marcan la diferencia. Por ejemplo, cuando modelamos un cable, puede estar pelado o cortado.
05 - Plasticine
Es necesario modelar una plastilina en baja resolución que contenga los volúmenes finales del prop. El responsable debería aprobar esta tarea antes de continuar con el siguiente paso.
06 - Polygonal modelling
En este paso se modela el prop utilizando modelado poligonal clásico. Hay que utilizar el menos número de polígonos posible y nunca más de dos subdivisiones.
07 - Sculpting
Si el prop lo requiere así, el modelo se lleva a Mudbox para añadir pequeños detalles. Los volúmenes nunca se crearán en este paso.
08 - Clay renders
Utilizando el set de luces apropiado para ello, se crean varios renders mostrando el modelado final al supervisor.
09 - Turn around
Si fuera necesario, crear un turn around utilizando el mismo set de luces del paso anterior.
10 - Director revision
El director supervisa el trabajo de modelado y toma una decisión sobre posibles cambios, o finalmente aprueba el trabajo.
11 - Approval
El director aprueba el trabajo de modelado.
12 - Retake
El director sugiere cambios en el trabajo de modelado.
13 - Shading&Texturing department
Trabajo de modelado finalizado. Se pasa el prop al siguiente departamento.
14 - Back to step 06
Si el director sugiere cambios, se retrocede al paso 06.